![]()
219 - 1/4" Think piece of balsa added to rear.
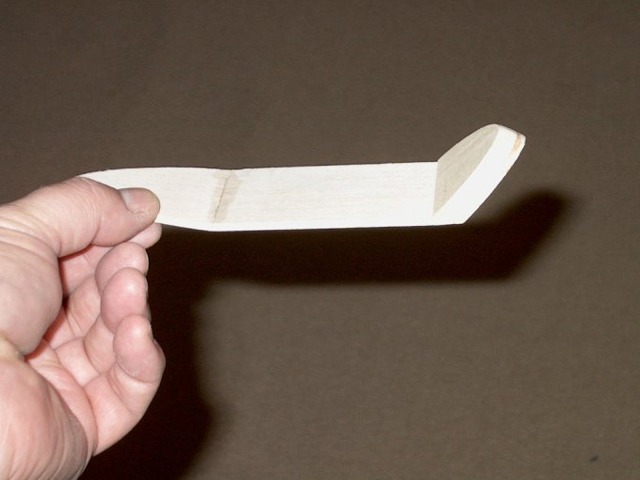
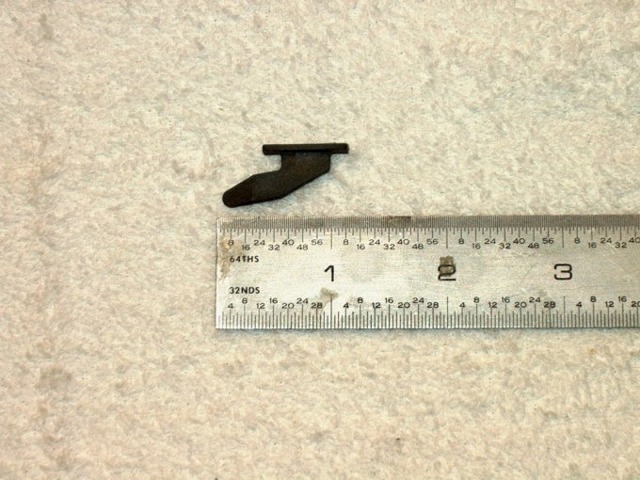
220 - I used a Bob Violett canopy mount, but you could also make them from 3/32" ply using the shape below as a reference.
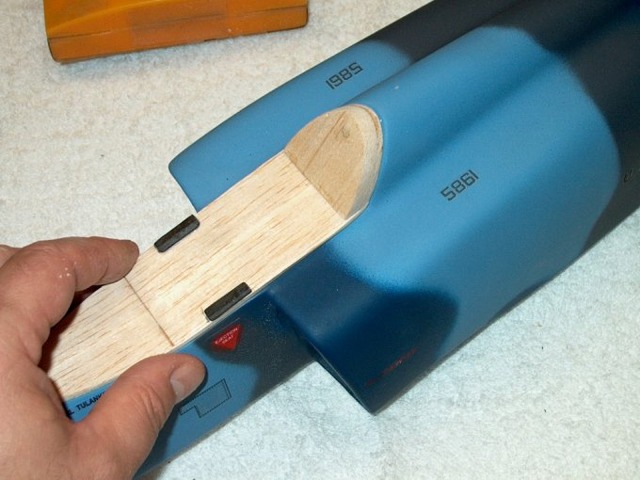
221 - Canopy plate slotted. Fuselage slotted with a Dremel cutting wheel.
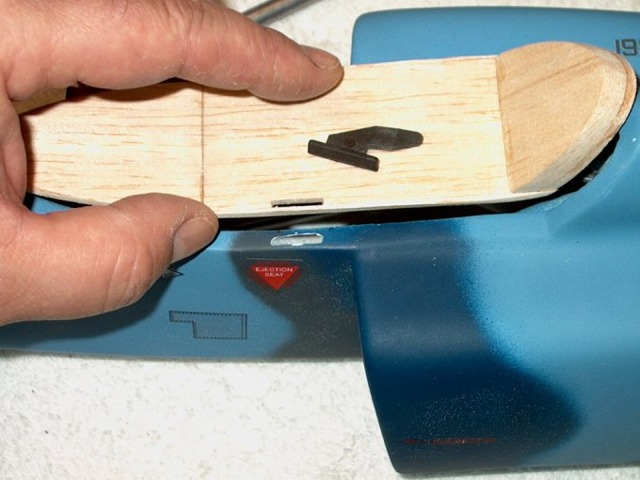
222 - Canopy mount installed.
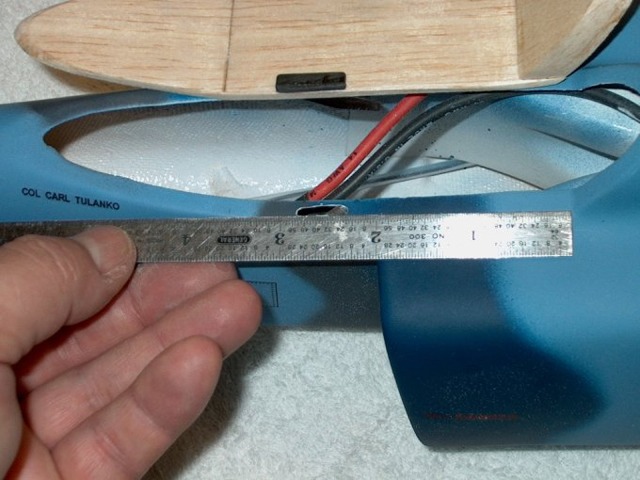

223 - Measurement showing location of the slots.
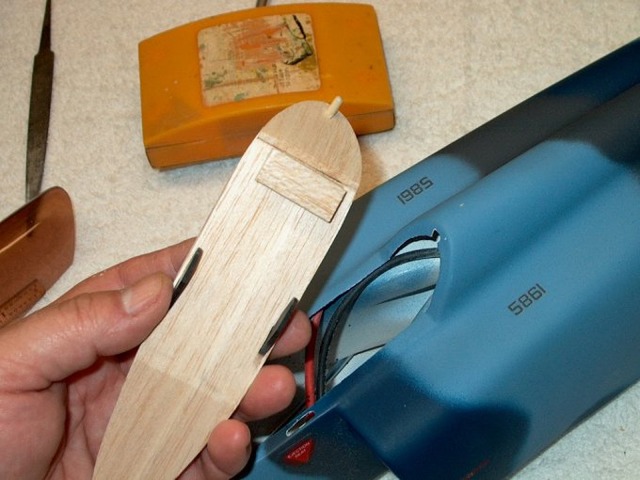
224 - Canopy mounted and held in place, then drill used to bore through the canopy and fuselage.
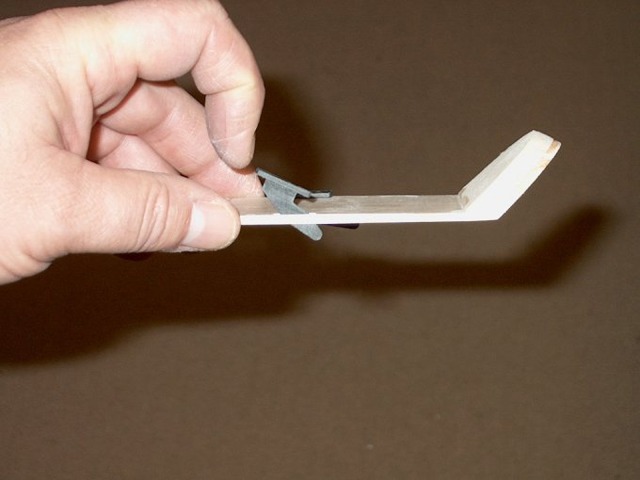
225 - Installing an alignment pin from 1/8" dowel.
226 - Pin installed.
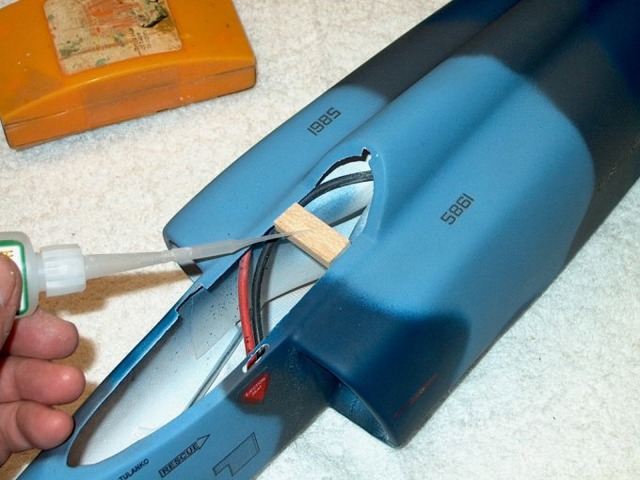
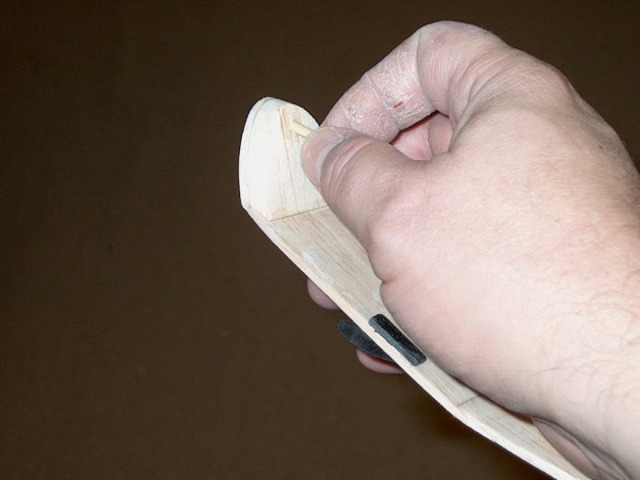
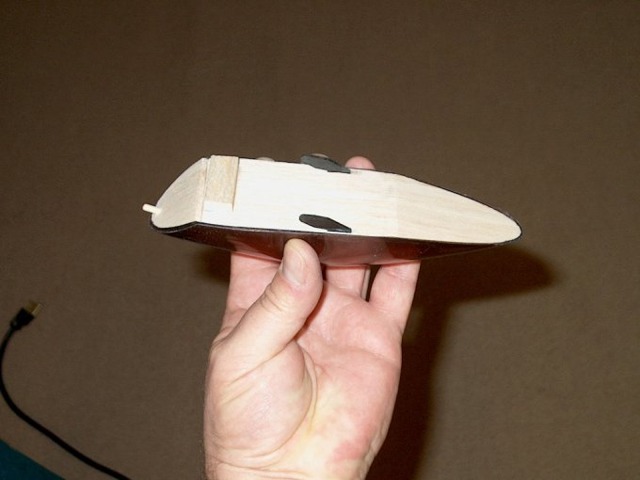
227 - A piece of 1/4" x 1/2" balsa cut and fit to opening below, lightly wedged in place. CA applied to the top only.
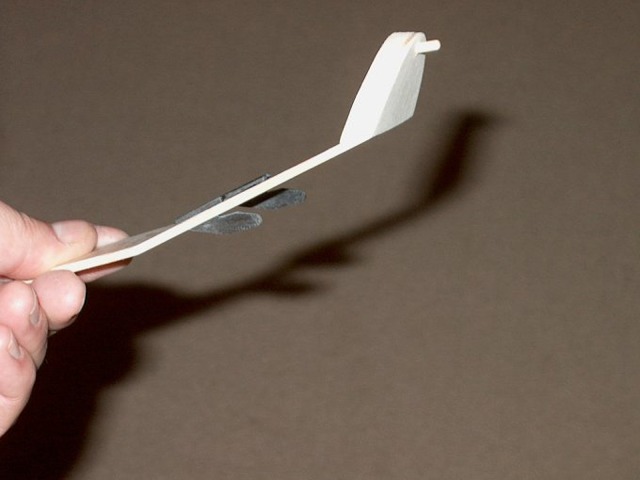
228 - Canopy set in place, lifting the rear, pushing all the way back, then dropping the rear on the balsa piece from the previous step.
229 - Dropping rear forced the piece to glue on canopy for a perfect fit. This piece of balsa will insure the canopy will not twist under stress of flight.
220 - Cockpit painted.
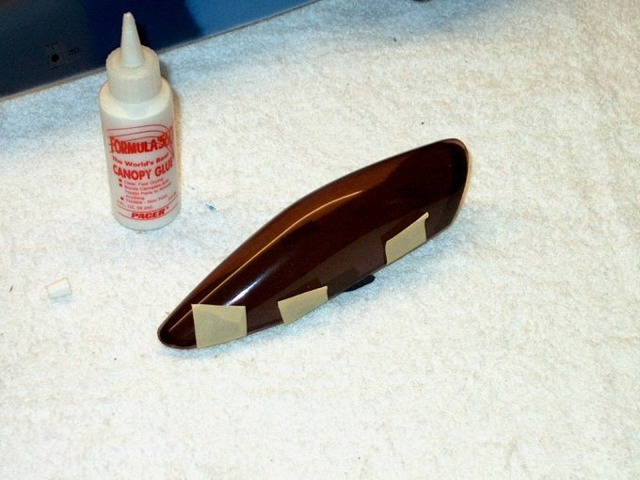
221 - Canopy Glue used to mount the canopy to the cockpit. Tape is used to hold it in place until it dries.
222 - Cockpit plate installed on canopy.
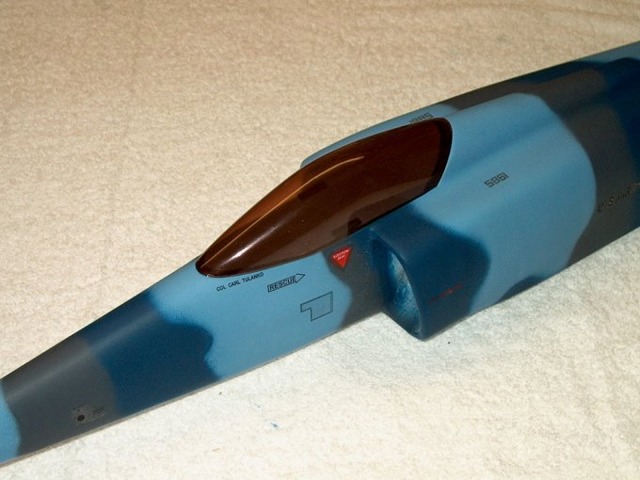
223 - Canopy installation completed. It's a simple way to mount it and the canopy should not come off during flight as it needs to move forward and up to be removed.
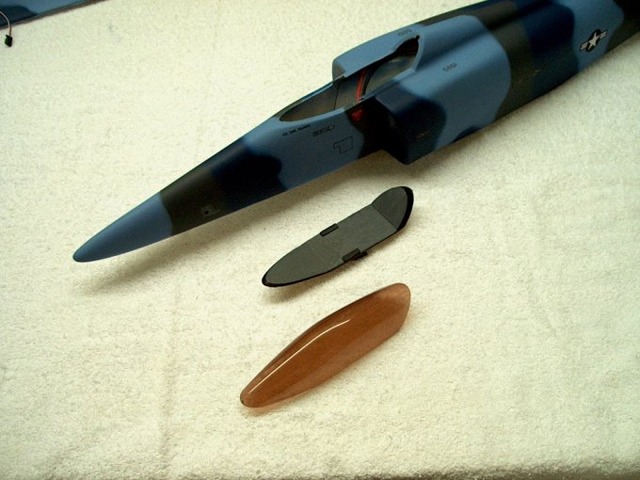
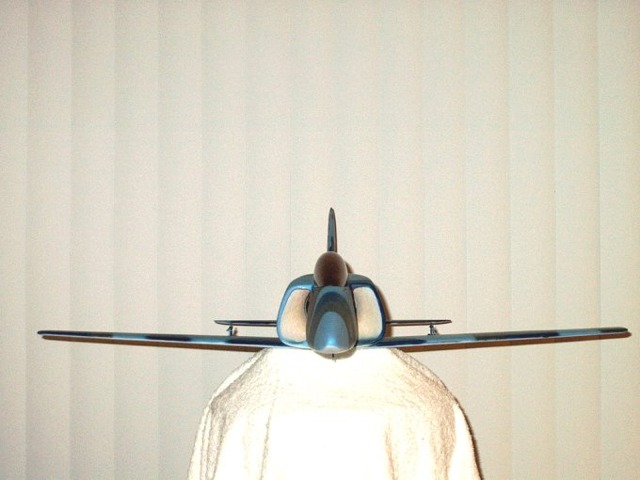
224 - HET-RC Super Sniper ARF Model finished (FRONT VIEW)
225 - (FRONT / TOP VIEW)
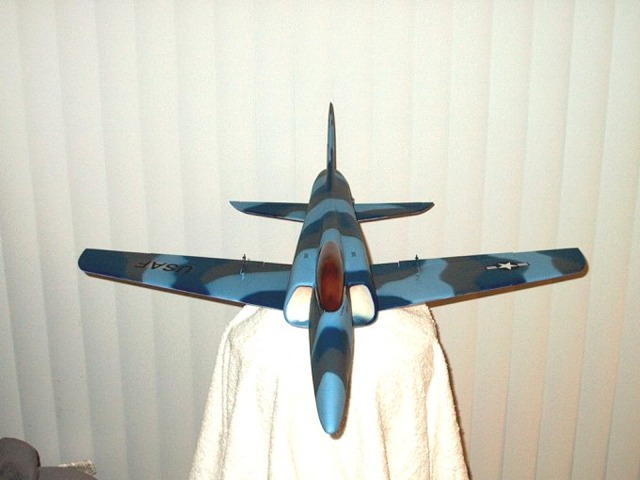
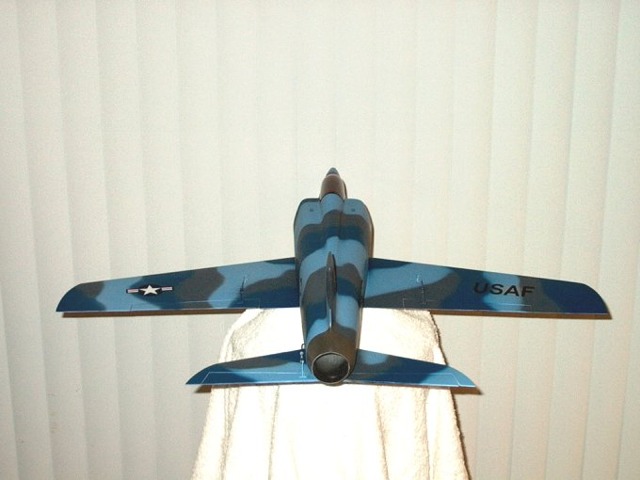
226 - (REAR VIEW)

227 - (RIGHT ANGLED VIEW)
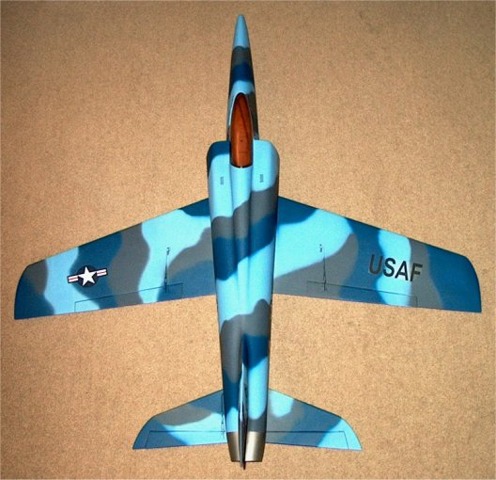
228 - (TOP VIEW)