
Build By: Carl Tulanko
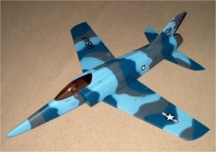
Despite the fact that the HET-RC Super Sniper is more of a sports plane than a warbird, Carl has agreed to take on this ARF and give it a military finish. With this in mind we have requested HET-RC produce some all "white" Super Snipers in addition to the white/orange finish.
As with Carl's previous builds, there's plenty of detailed steps and helpful hints to transform this sleek looking ARF into a mean looking, fast flying plane.
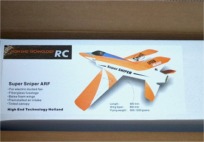
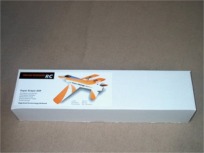
02 - The package, in good shape with no shipping problems.
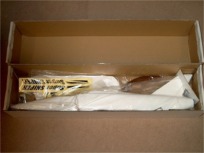
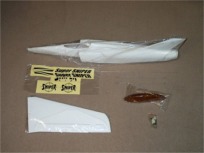
03 - Inside the box reveals a well packed kit, typical of HET-RC.
04 - The components include a fiberglass fuselage, two wing halves, a horizontal stab, canopy, hardware bag and decals.


05 - Wing sections and stab come pre-covered in plastic covering, note though that the control surfaces are not yet glued.
06 - Hardwood plates support the wing mountings holes.
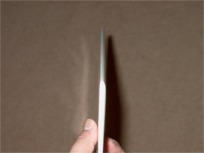

07 - The leading edge of this semi-symmetrical wing is shaped well.
08 - The intake duct work is made from glass, it's not super smooth, but has been finished well.
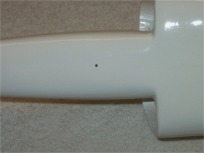
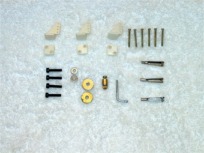
09 - Tow hook location is beefed up inside. I noticed all the mounting points for the wing, tow hook and tail feathers have hardwood supports epoxied in place inside... a nice touch.
10 - Hardware package should include the following:
- 3 Horns
- 6 Horn mounting screws
- 3 Clevis'
- 4 Wing / Tail mounting bolts & washers
- 3 Control rods
- 1 Tow hook
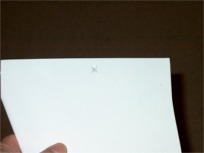

11 - Another nice feature is the aileron servo wire exit holes, which have been pre-made.
12 - The build begins with the elevator hinges removed in order to mark the center lines.
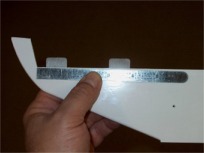
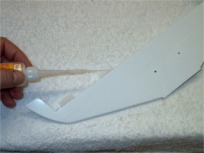
13 - Hinges are inserted up to the line inside the horizontal stab. They are placed with their left side 3/8" and 3" away from the end joint.
14 - Thin CA glue is used to mount the hinges... it will "wick" into the joint.
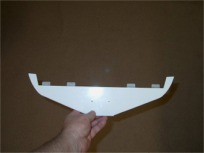

15 - Horizontal stab with hinges installed.
16 - The elevator is installed on the stab. Make sure it is evenly spaced from the tip on both sides before gluing.
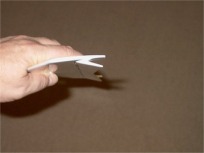
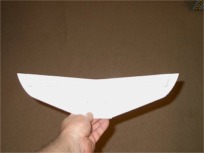
17 - Elevator is moved downward before gluing, allowing it to pull away a bit from the stab so it won't bind during use.
18 - Elevator installed on stab and glued in place. Once again, make sure the ends are evenly spaced, then use thin CA to attach the elevator.
(NEXT PAGE)