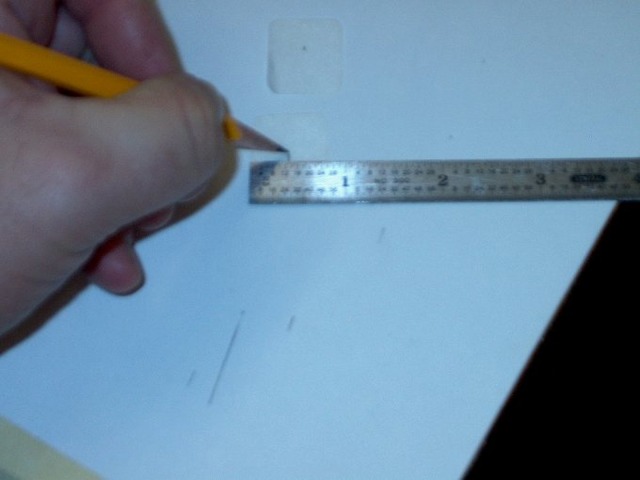
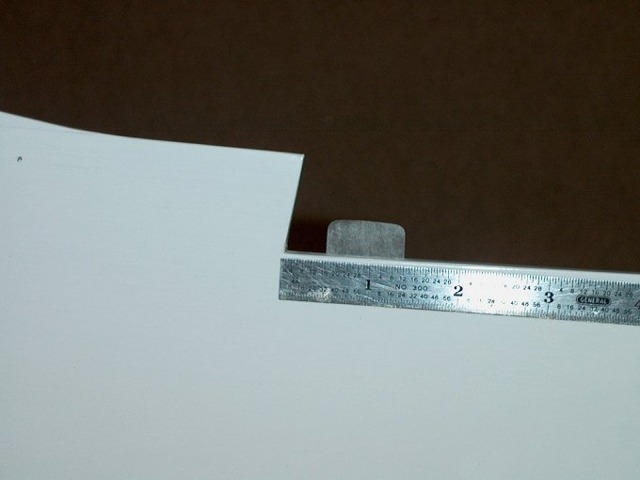
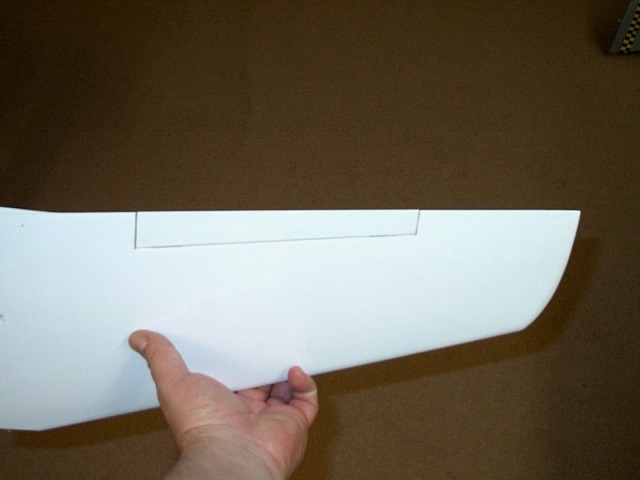
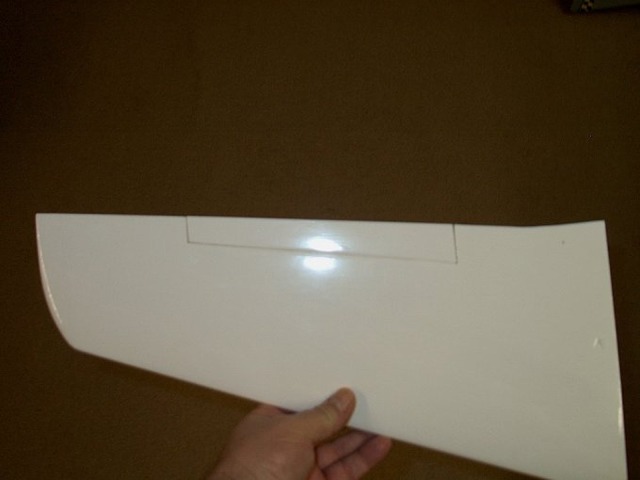
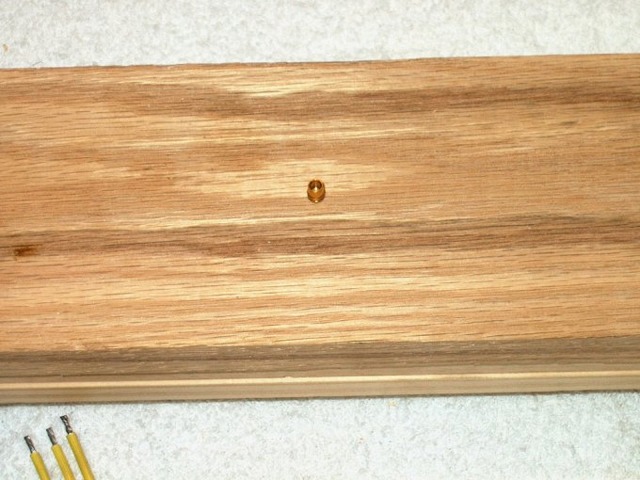
19 - Marking center lines for the aileron hinges .

20 - Hinges are installed 1/2" from each side.

21 - Hinge is glued in place and aileron is shown being installed. 22 - Aileron installed.
 
 
  23 -Aileron flexed downward to have it space itself slightly away from the trailing edge of the wing for freedom of movement . 24 - Next, the aileron is glued in place with thin CA.
 
 
  25 - The second wing half showing hinges installed. 26 - Using a Q-Tip makes a nice cleanup tool for excess thin CA.
 
 
  27 - Aileron fitted to second wing half. 28 - Once again, the aileron is flexed to space it from the trailing edge.
 
 
  29 - Second aileron glued in place. 30 - Preparing the power plant.
 
 
  31 - 3.5mm plugs are installed on the motor. 32 - A piece of hardwood makes a good plug holder.
 
 
  33 - Filling the cup with solder. 34 - Motor lead and plug are heated, then the lead is pushed down in place.
 
 
  35 - All three leads connected. 36 - Adding heat shrink to the plugs.


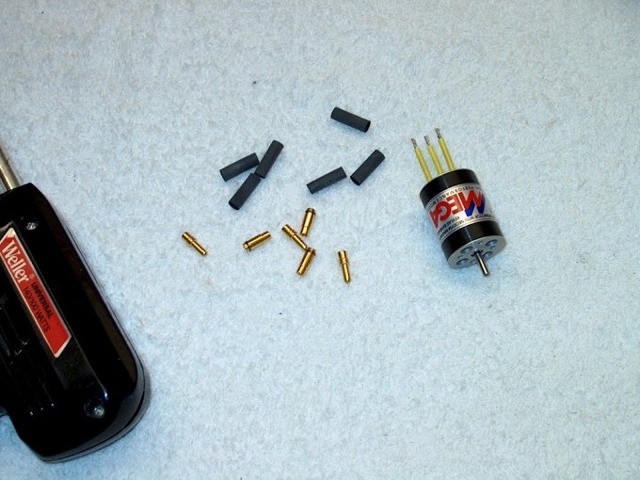
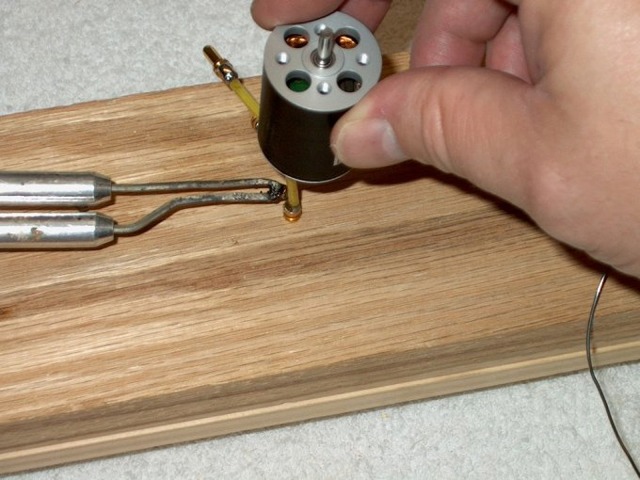
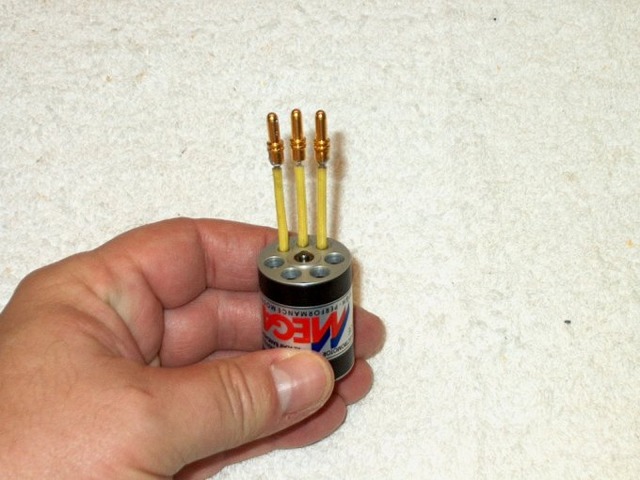
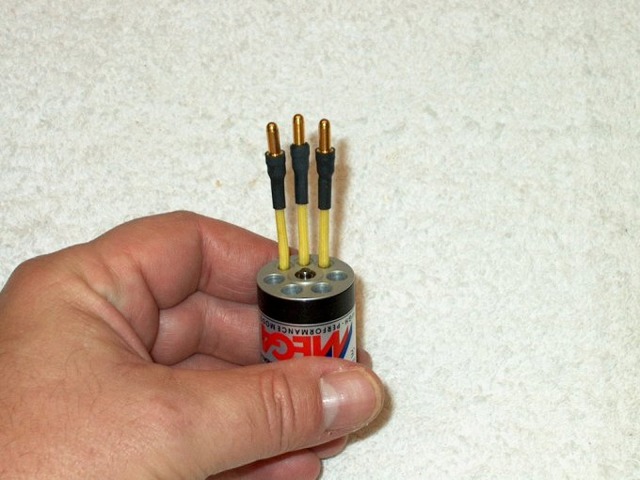
37 - Motor assembly completed.

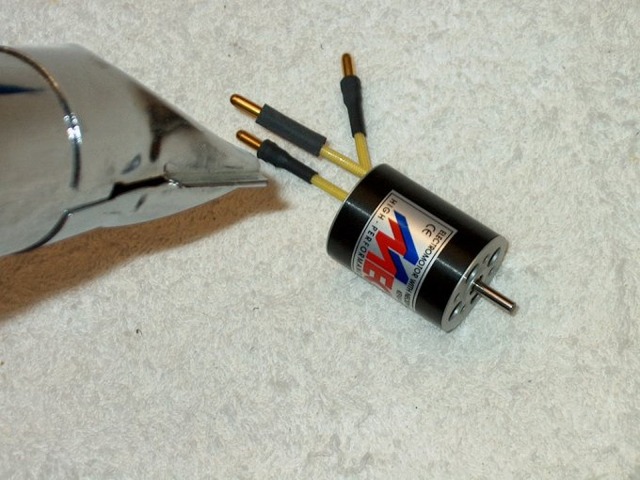
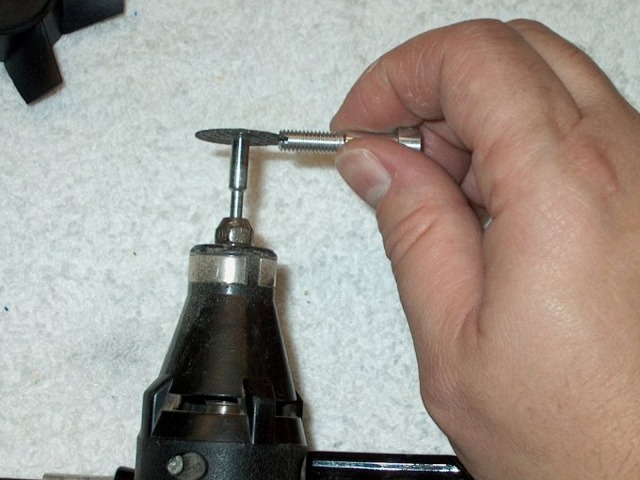
38 - Preparing to assemble the MiniFan480, the shaft adapter is slotted at the tip so a screwdriver can be used later to help tighten the nut.

(NEXT PAGE)