![]()

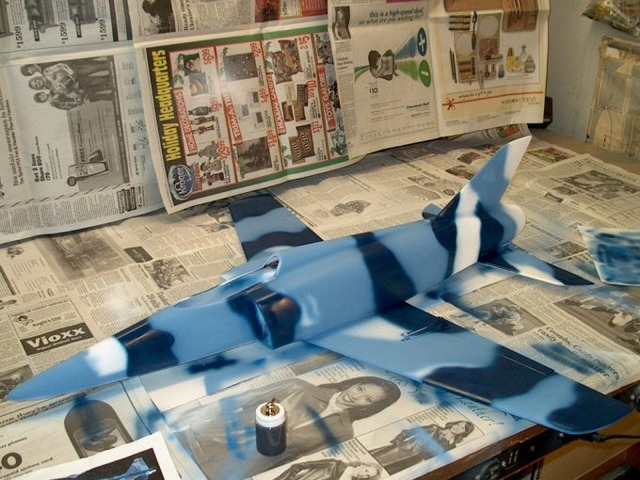
199 - Started the top side using flat light sky blue.
200 - Second color added... dark blue.
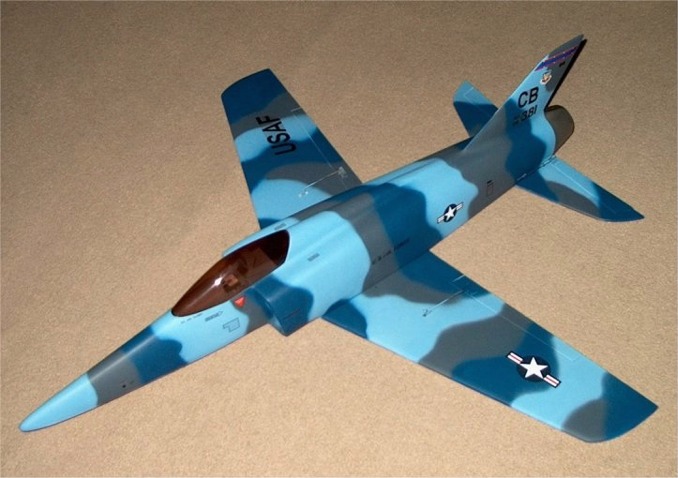

201 - Model colors finished.
202 - Painted the tail cone with "Burnt Metal".
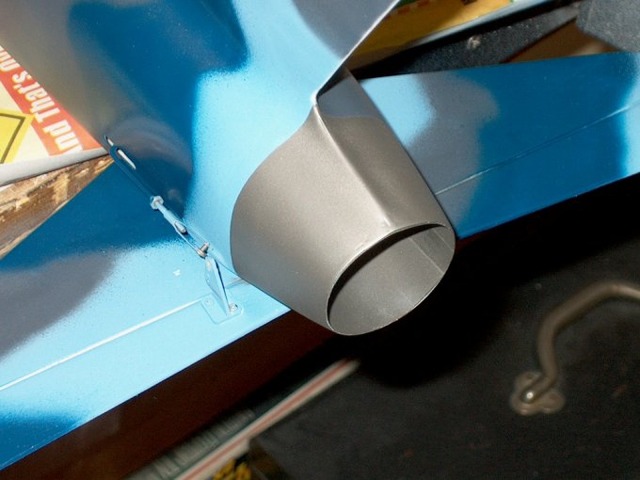
203 - Tail cone finished.
204 - Canopy /Cockpit Build:
NOTE: If you are going to place the batteries in the wing saddle area, the canopy can be simply glued to the fuselage with canopy glue. The following steps will show how to build a simple removable canopy.
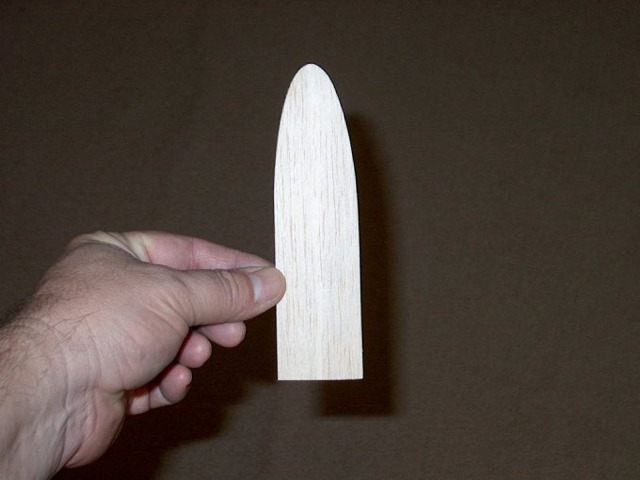
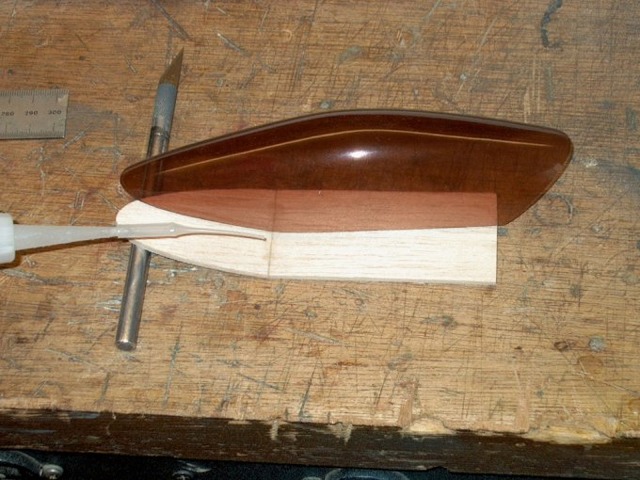
A base plate was traced onto 1/8" balsa.
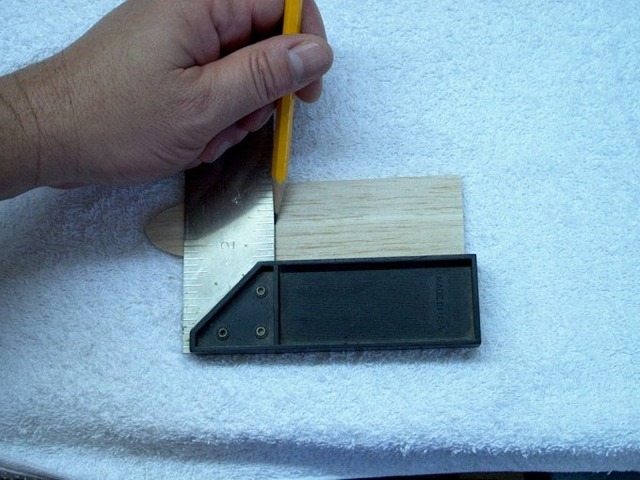
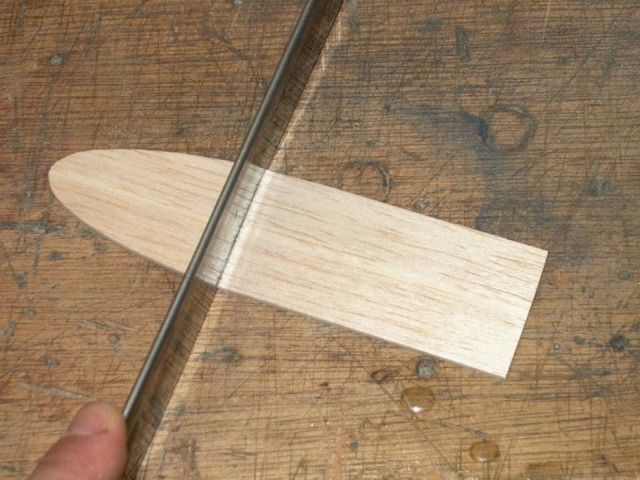
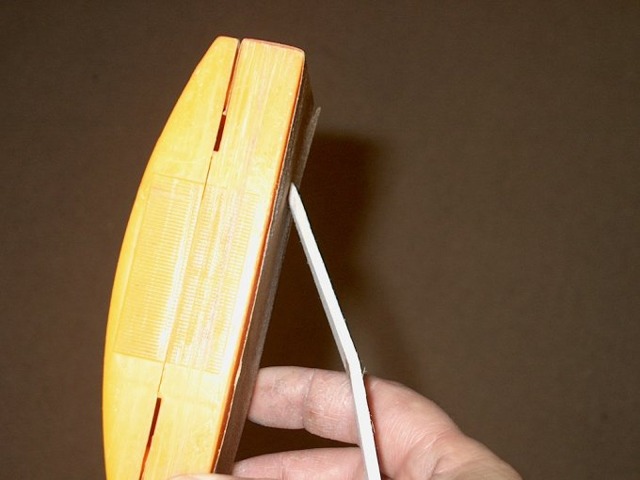
205 - A center line was drawn where the canopy bend is located.
206 - A saw was used to cut a "bend slot" ... do not cut all the way through.
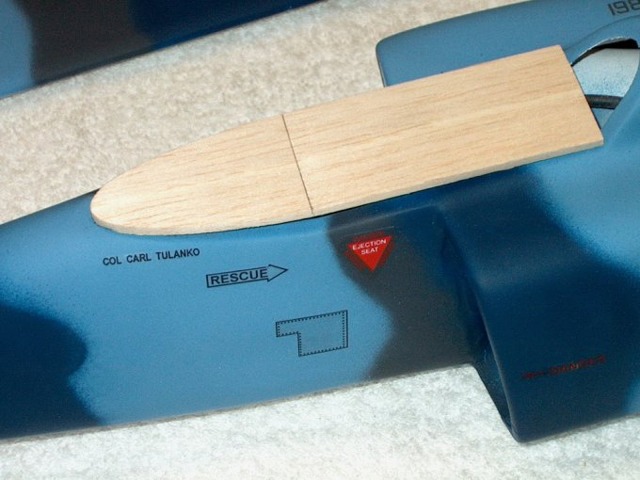

207 - Balsa cockpit base placed on the fuselage.
208 - Cockpit held down in place while using thin CA to glue the joint.
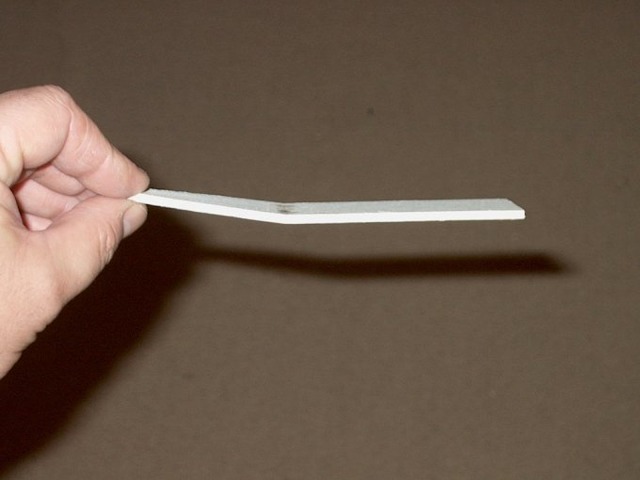
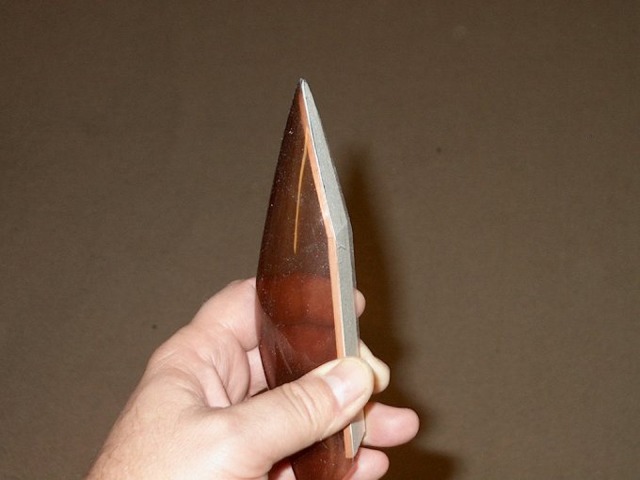
209 - Cockpit angle finished.
210 - The seam was filled all the way across and the angle was measured to make sure it fit the cockpit.
211 - Beveling the front edge.
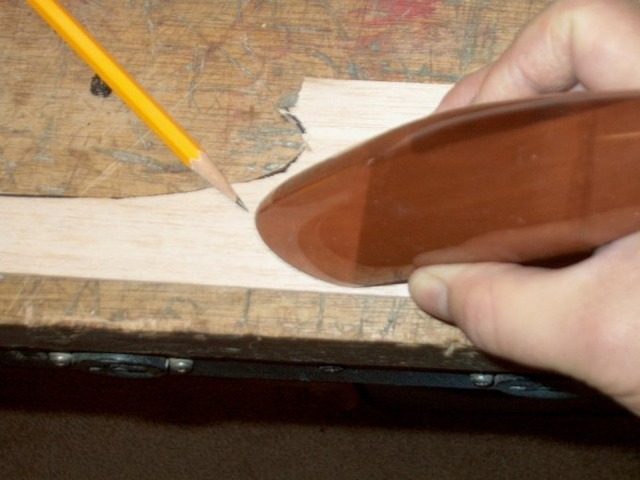
212 - Cockpit plate fit to the canopy.

213 - Drawing a back plate.
214 - Plate cut from 1/8" ply.


215 - Plate beveled and checked for fit.
216 - Back plate pressed into place at correct angle.
217 - Back plate glued to cockpit.
218 - Plate glued then canopy painted with thin CA.
(NEXT PAGE)