| |
|
| |
|

| |
|

|
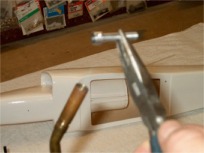 |
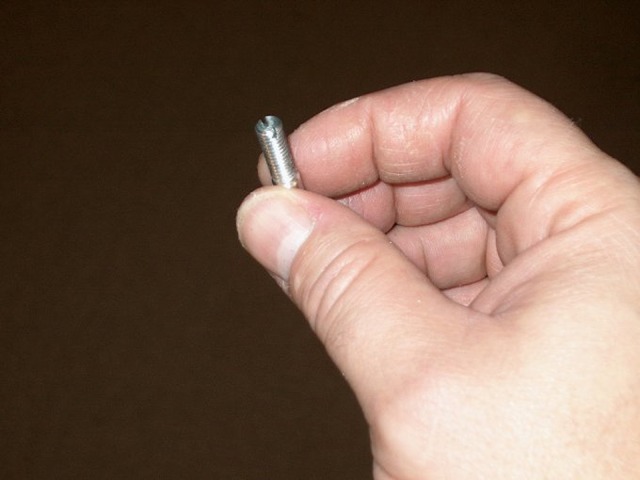
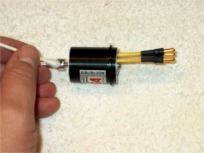
39 - Shaft adapter slotted.
|
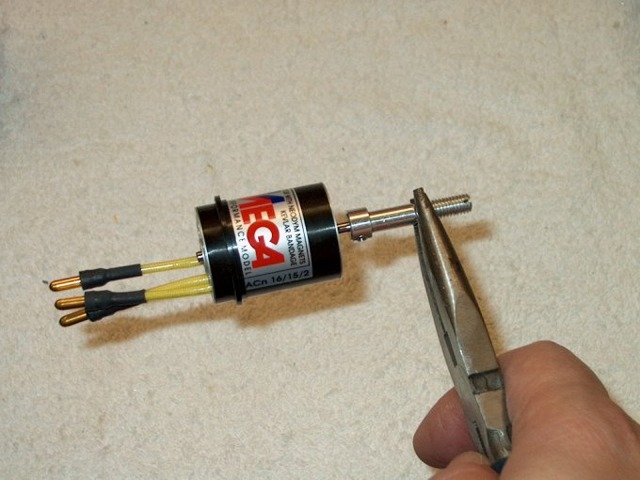
40 - Heat the shaft adapter with a torch... a hair dryer or heat gun can be used as an alternative. |
|
 |
 |
| 41 - Heating the shaft is necessary as it is slightly undersized on purpose to insure a tight fit to the motor shaft. |
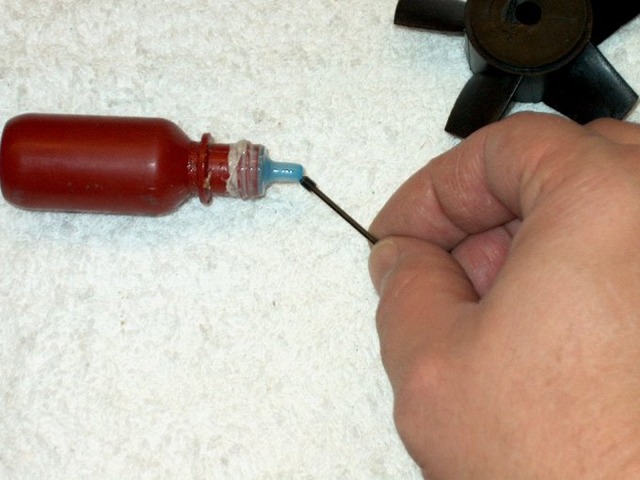
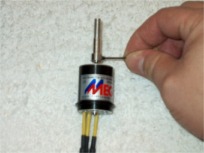
42 - Loktite is used on the setscrew.
WARNING - Not not allow any Loktite to come in contact with any part of the fan.
|
| |
|
| |
 |
 |
| |
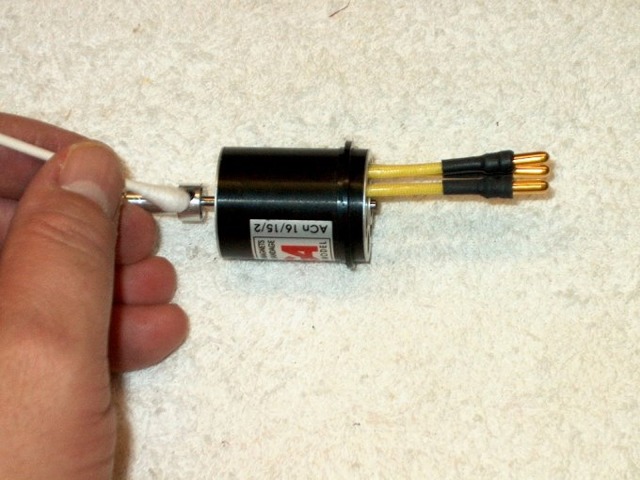
43 - Set screws are installed in the shaft adapter and tightened. |
44 - Use a Q-Tip to clean off all excess Loktite. |
| |
|
| |
 |
 |
| |
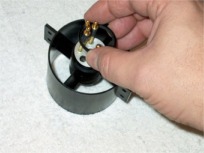
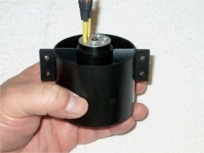
45 - Install the motor in the fan shroud. |
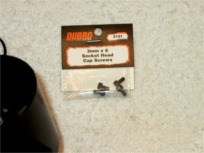
46 - The screws that come with the Mini480 fan are 2.5mm, so you will need some 3mm bolts to mount the motor to the shroud. |
| |
|
| |
 |
 |
| |
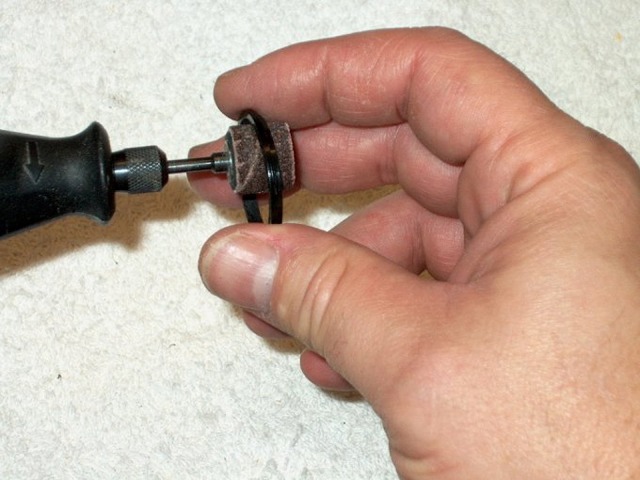
47 - 3mm bolts used to secure the motor. |
48 - A sanding wheel opens up the plastic spacer ring so it will fit over the motor. |
| |
|
| |
 |
 |
| |
49 - Ring checked for fit. |
50 - Ring slipped over the rear of the motor. |
| |
|
| |
 |
 |
| |
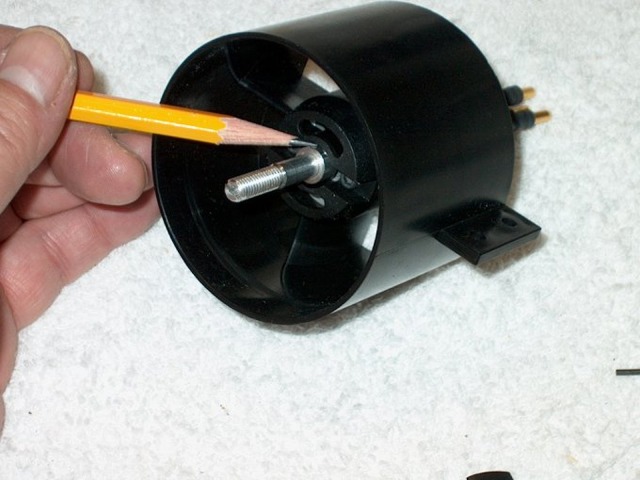
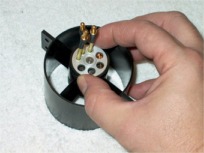
51 - The ring is seated flush with the rear of the shroud. |
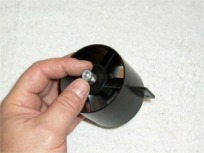
52 - Important: Check to make sure the shaft base protrudes at least 1/64" from the fan shroud face, as shown by the pencil. If not spaced
correctly, the rear of the fan unit will rub the shroud once it is installed. If you need clearance, remove the motor, loosen the shaft set screws, heat up the shaft and pull it out a bit. Then reinstall and check again. |
| |
|
| |
 |
 |
| |
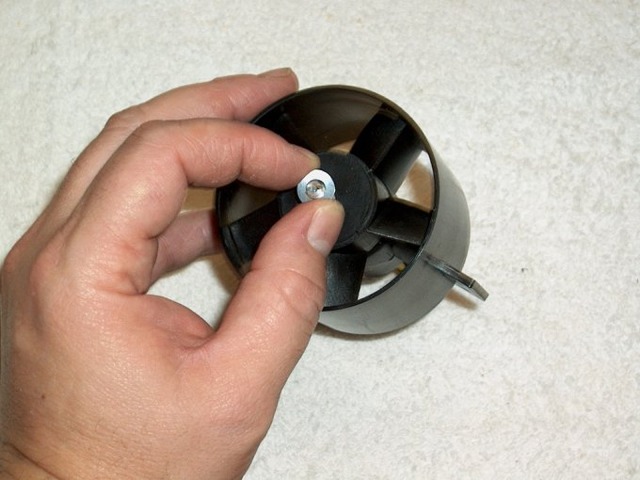
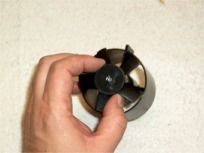
53 - Fan is installed on the shaft. |
54 - Followed by a washer included in the fan kit. |
| |
|
| |
 |
 |
| |
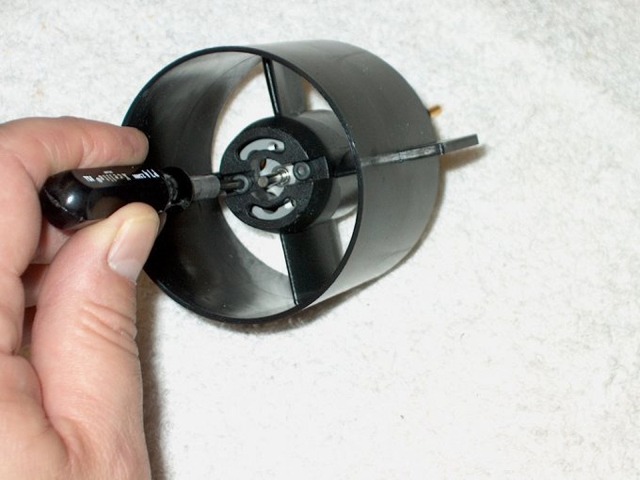
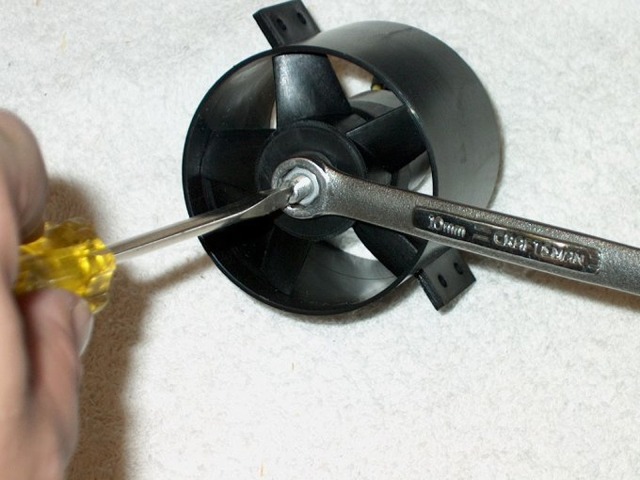
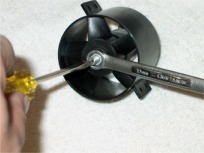
55 - next, the aluminum nut is installed. |
56 - Here is where the slot you made earlier comes in to play. Using a screwdriver in the slot to hold the shaft, tighten the fan unit. |
| |
|
| |
 |
VERY IMPORTANT: Please make sure there is no rubbing or binding between
the fan rotor and the fan shroud. Now would be a good time to
check, if the rotor does not spin freely without making contact with the
fan shroud, please go back to step #52 and check that you provided
adequate spacing between the adapter and the motor.
Also, if you use a lock tight type chemical to hold the aluminum nut in
place, make sure it does not come in contact with any of the ABS plastic
parts as it will soften and later destroy your fan over a period of time.
If you opt to use such a chemical make sure it only comes in contact with
ONLY the metal parts and wipe any excess away right away. |
| |
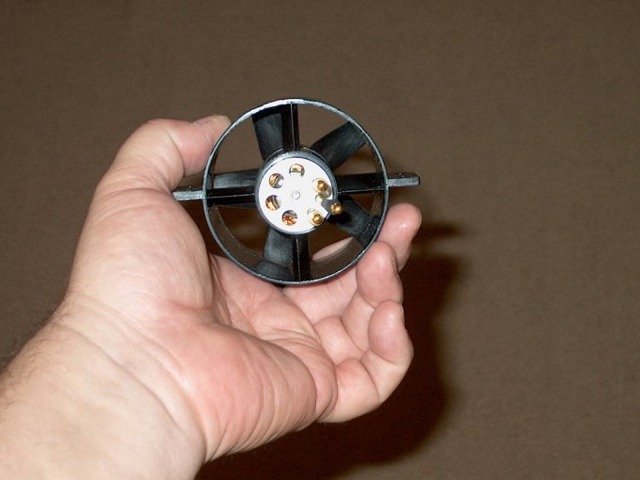
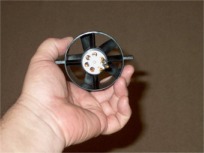
57 - Fan assembly completed.
|
58 - Important note,
please read above as it will help prevent damage to your motor, fan and
plane.
(NEXT PAGE)
|
| |
|
| |
|