![]()
79 - NOTE: If you are not painting your model, skip the next six steps.
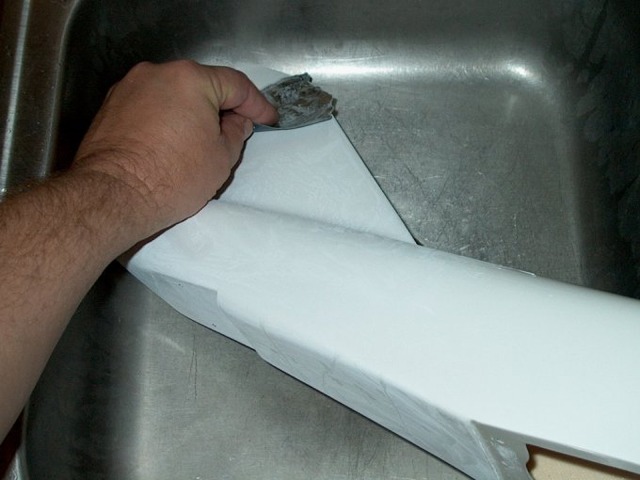
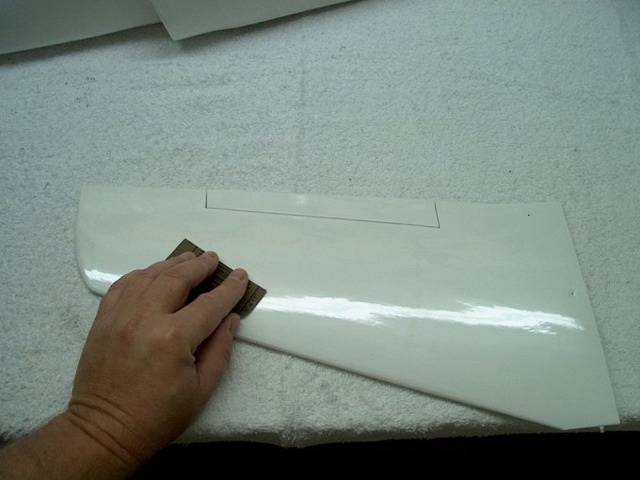
320 Grit wet/dry sandpaper was used to flatten the surface of the fuselage for good paint adhesion.
81 - The surface should still appear white, but "flattened" in color.
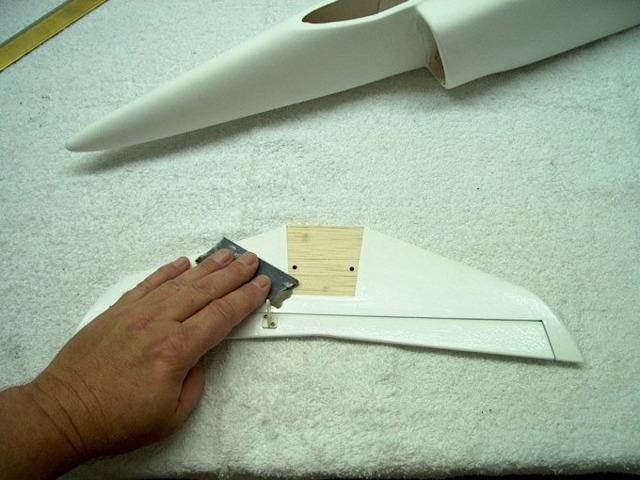
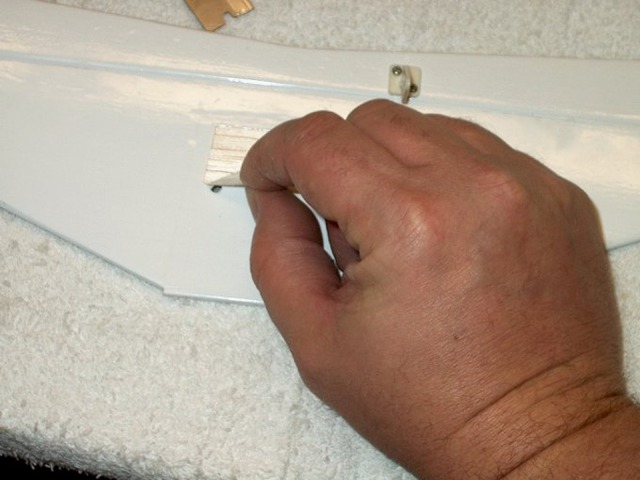
82 - 320 grit sandpaper was used to "dry sand" the horizontal stab.
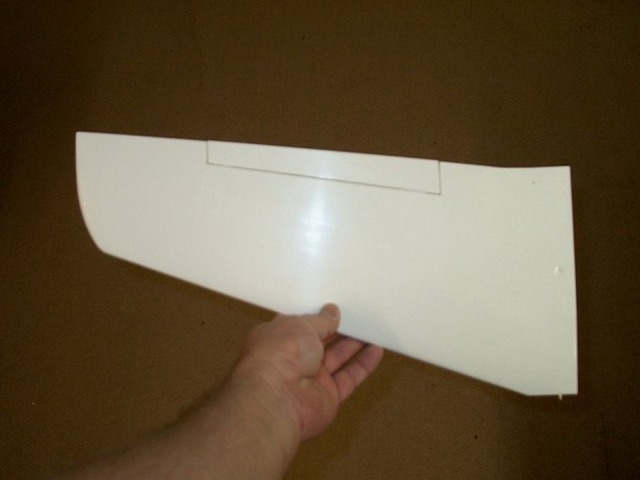
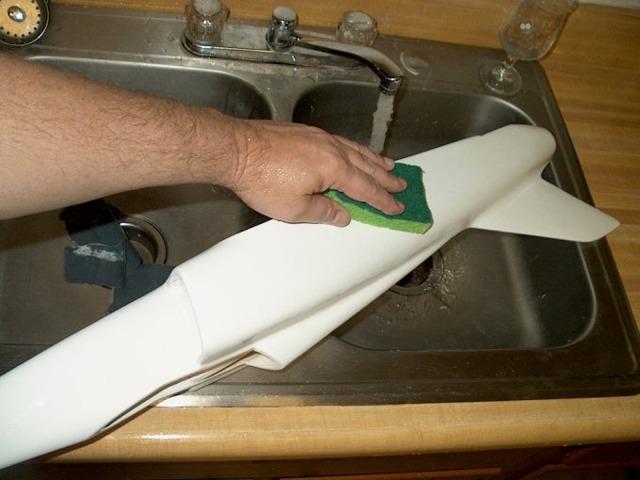
84 - All surfaces washed and shown now with that "flat white" look.
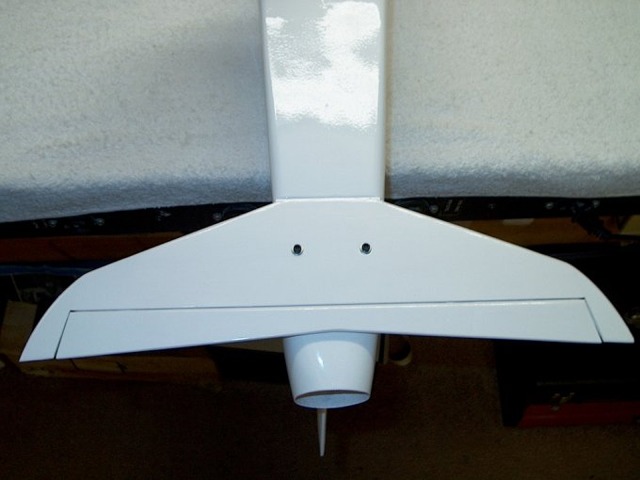
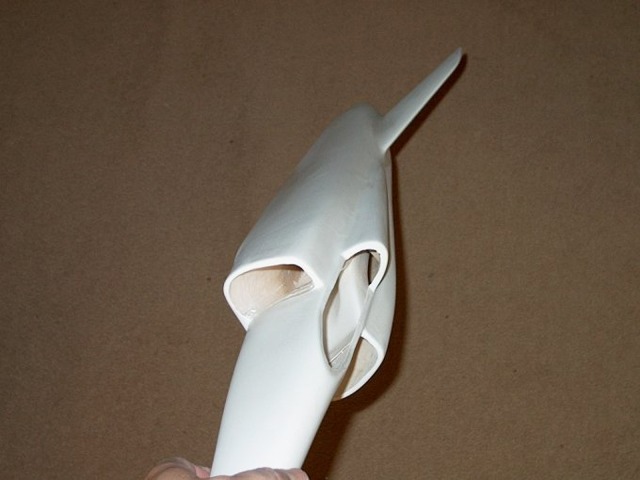
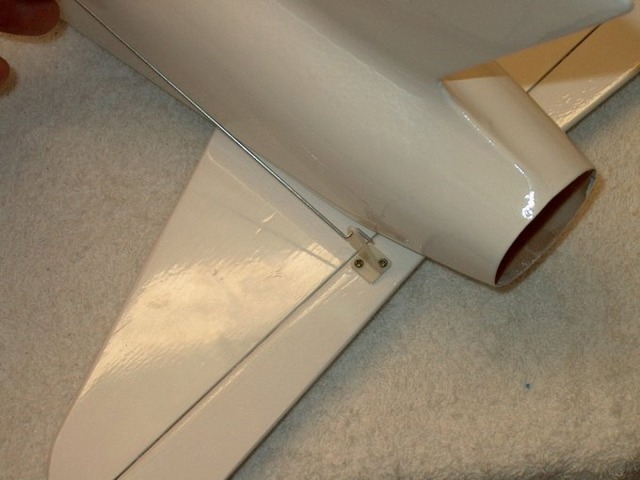
85 - The tail assembly is temporarily connected to the fuselage using two of the bolts and small washer provided.
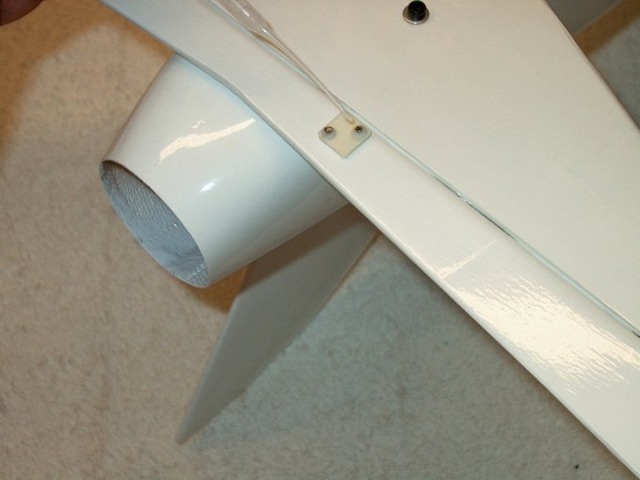
86 - The tail shown installed and flush with the fuse at the top.
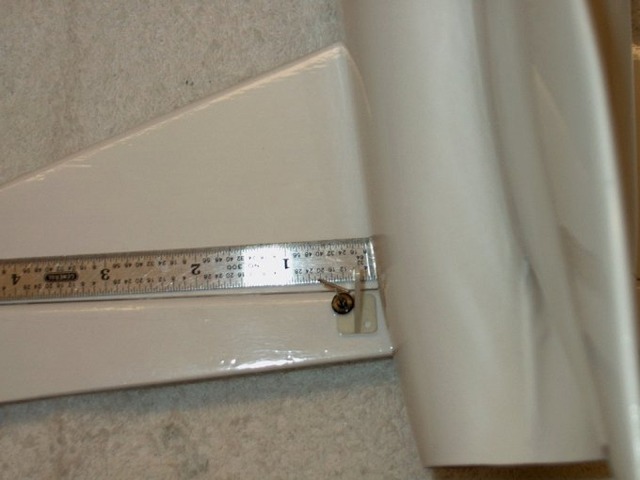
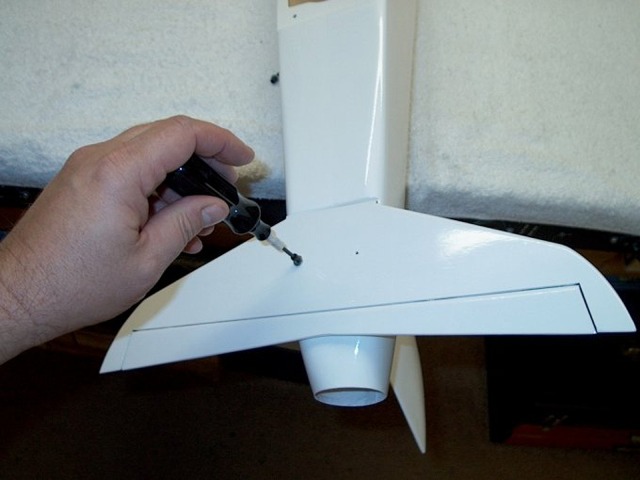
87 - The elevator horn was placed on the elevator with its center 1/4" away from the fuselage side to allow for clevis clearance.
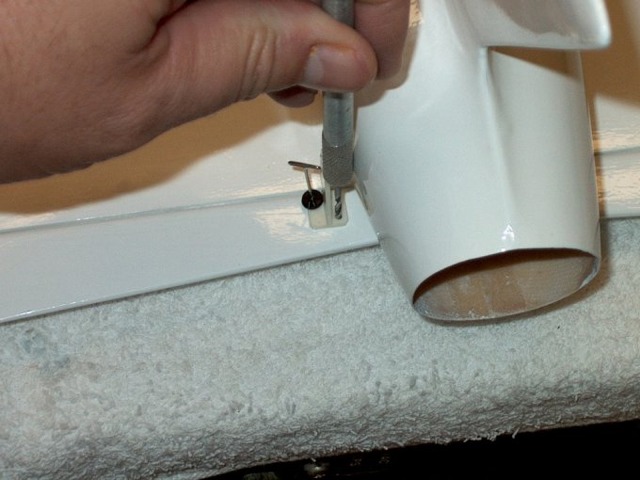
88 - The elevator was drilled using a pin vise.
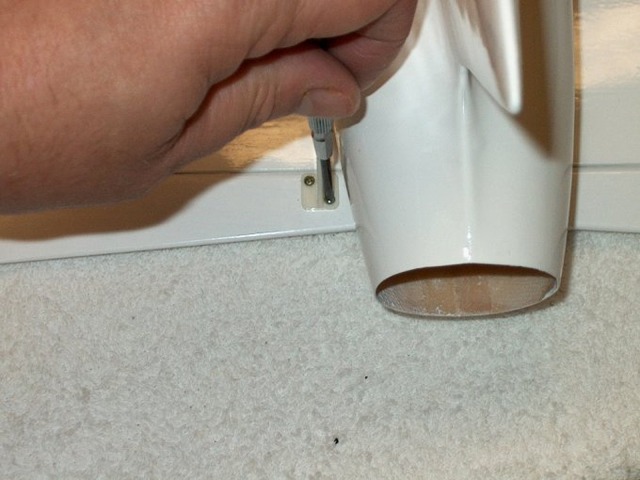

89 - The bolts supplied in the kit are used to attach the horn to the elevator.
90 - Excess bolt length is cut flush to the horn retainer.

91 - A drop of medium CA is applied to the top of each bolt end.
92 - Hinge shown installed.
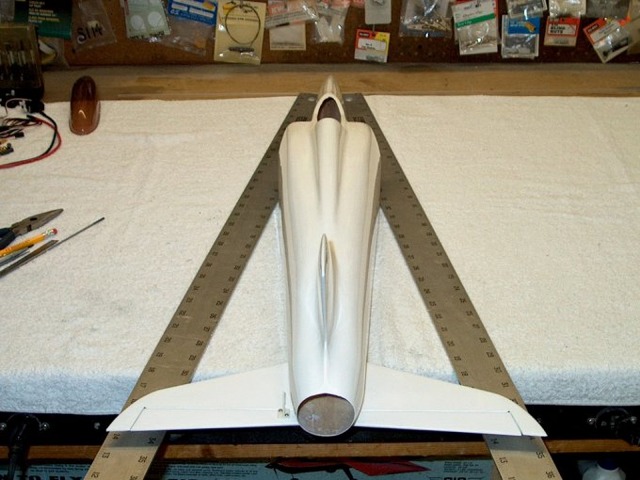
93 - Rod supplied in the kit was tried but it was too loose in the horn.
94 - Preliminary check of tail alignment. It appears that mounting the tail and pushing it forward flush to the fuselage makes for a worry free install with no check needed.
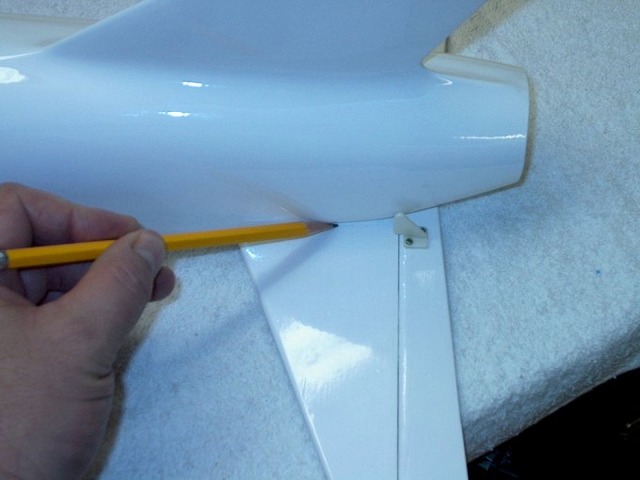
95 - Stab being marked for permanent installation.
96 - Stab marks shown.

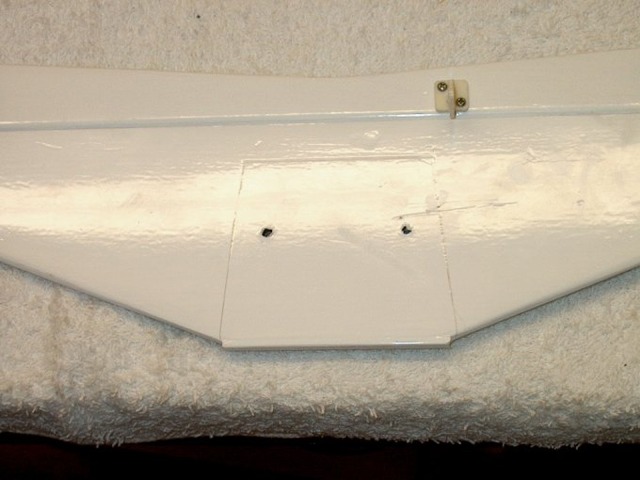
97 - Plastic covering from the inside area was removed so that stab could be epoxied to the fuselage.
98 - Plastic covering shown being removed.
(NEXT PAGE)