![]()
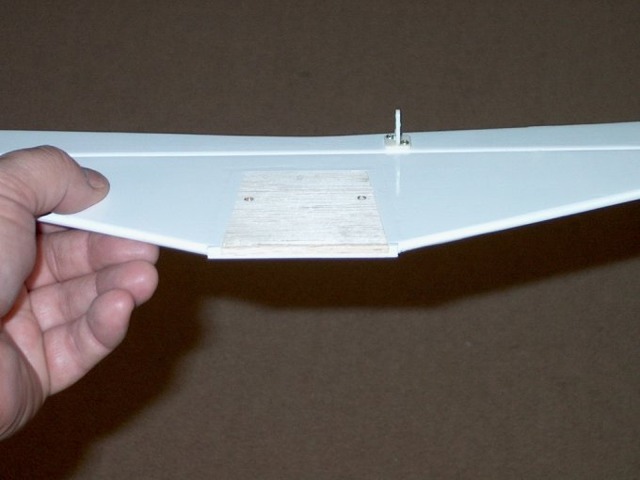

99 - Stab prepped for final install. Make sure you remove the top area and not the bottom.
100 - Epoxy applied to stab area. The stab needs to be epoxied as the bolts cannot be tightened without crushing the balsa. You may try cutting the bolt area out and replacing with a plywood plank. This would allow for a "bolt on" stab.
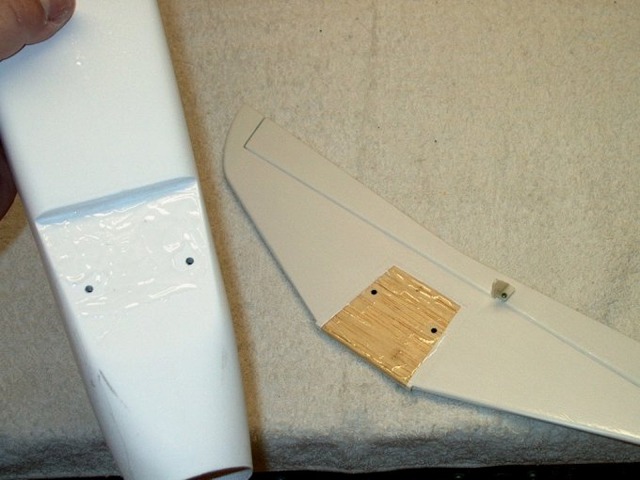
101 - The fuselage area was roughed up with 60 grit sandpaper and then both surfaces had epoxy applied.
102 - The stab was bolted permanently in place with the leading edge pushed flush against the fuselage.
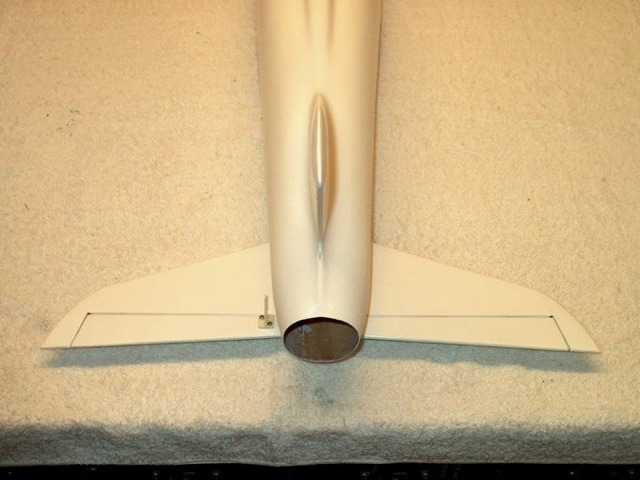
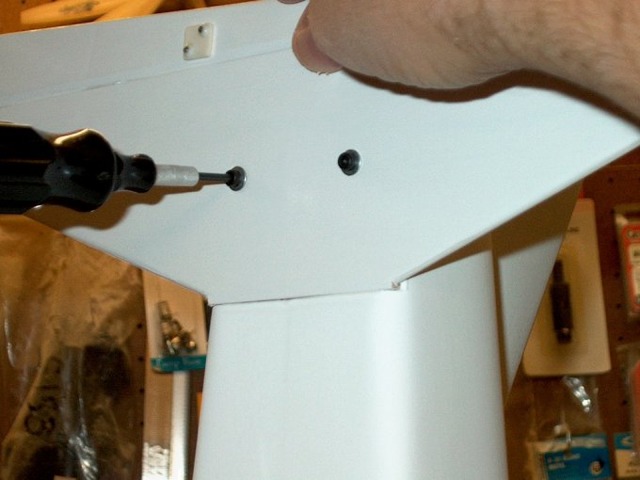
103 - Horizontal stab installation completed.
104 - Stab installed, rear view showing horn location.
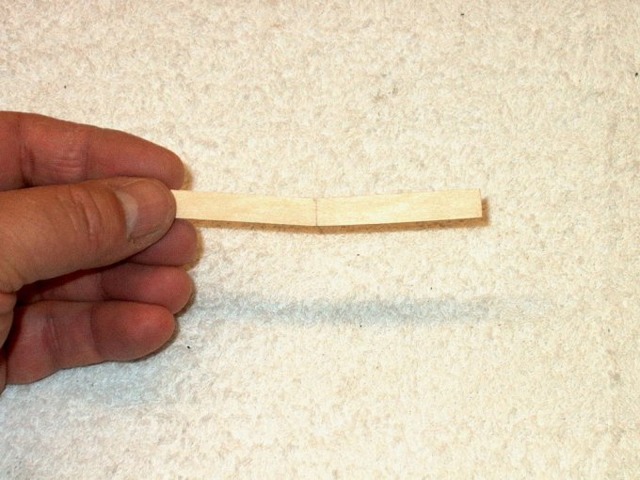
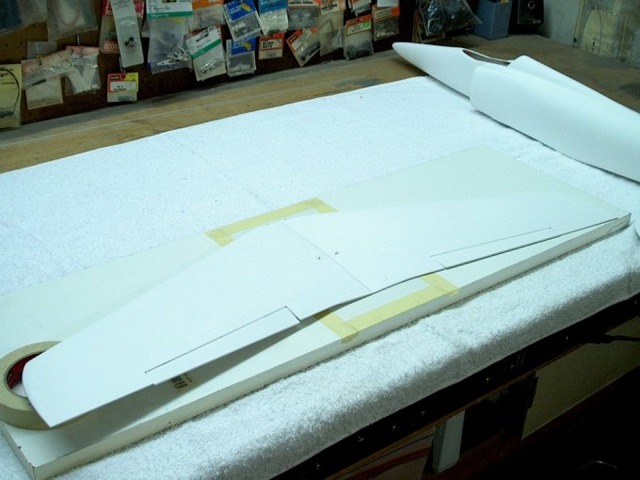
105 - Main wing spar, ready to install. I drew a center line on it for reference.
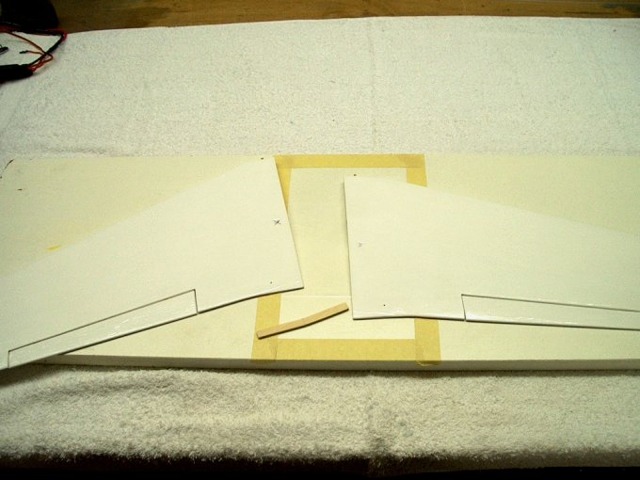
106 - Wing components ready to go.
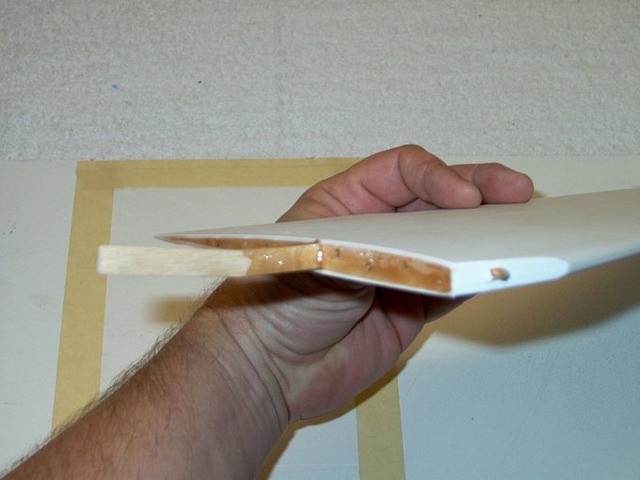
107 - Root spar drilled with a 3/32 bit to add more strength once glued.
108 - Epoxy added to main spar and root, then spar is installed.

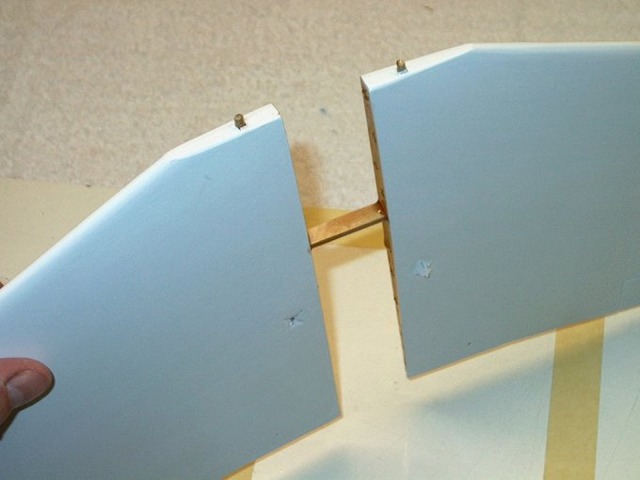
109 - Spar inserted up to center line.
110 - 15 Minute Epoxy added to other wing root and exposed spar.
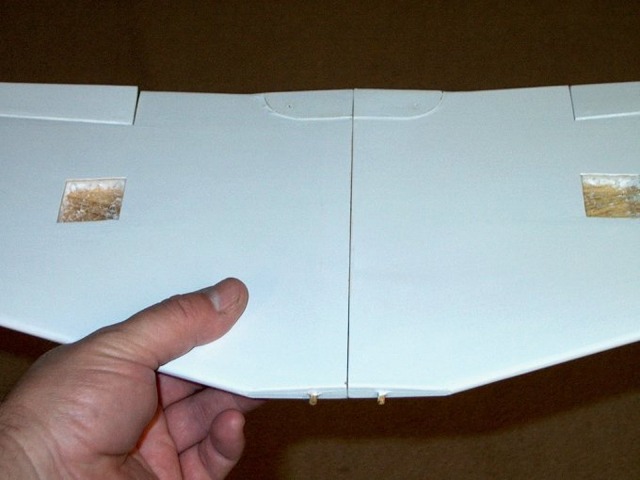
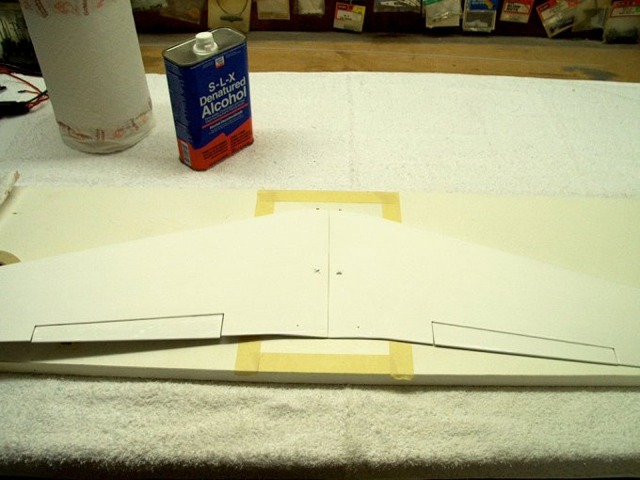
111 - Wing halves joined and excess epoxy cleaned up with denatured alcohol.
112 - Wing assembly laid flush on table to keep it aligned. Both halves were pressed down on the table to make their joint even, so incidence would be aligned.
113 - Wing tip propped up at proper dihedral while epoxy sets.
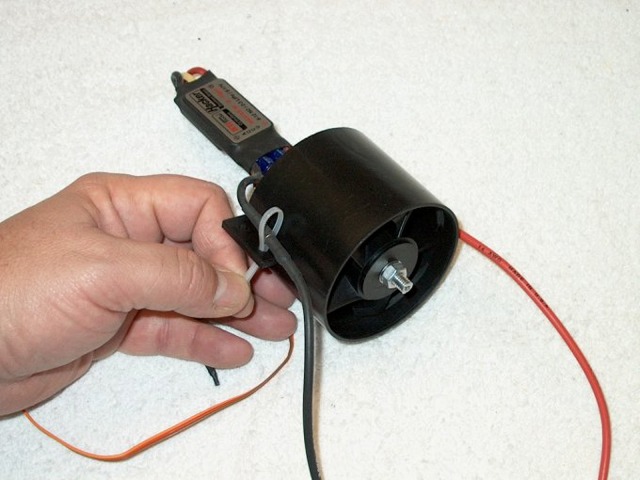
114 - Final fan assembly... cleaning up the wiring with ties.

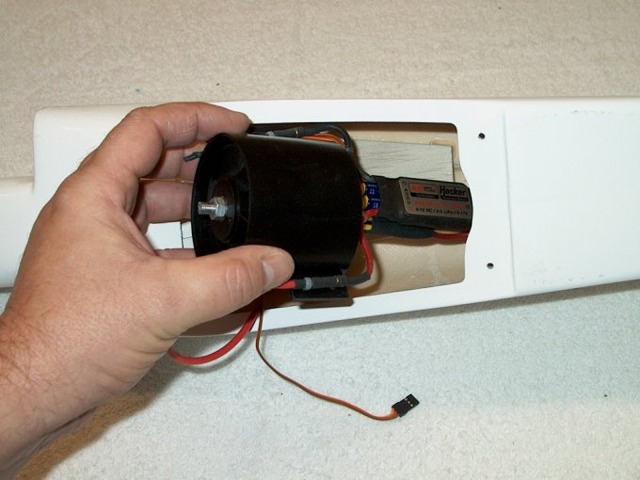
115 - Rear view of wiring tied down.
116 - Final installation of the fan assembly.
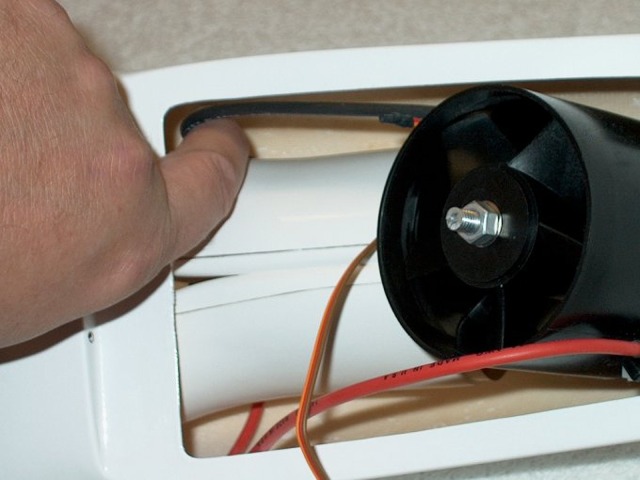
117 - The power wire was pulled across the top of the duct (inverted, so it's seen on the bottom.) This routed it right into the cockpit bay.
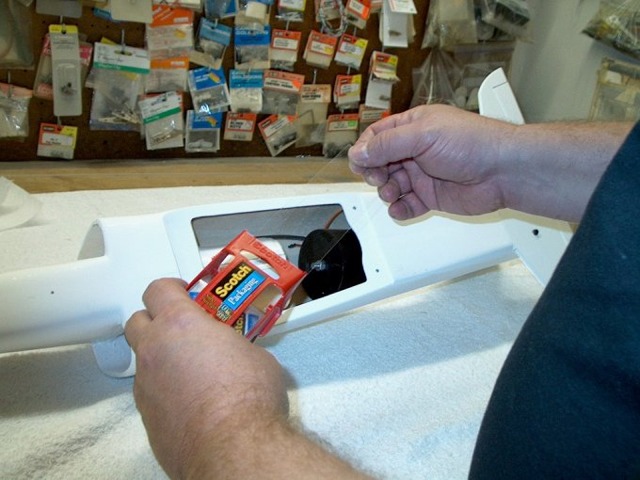
118 - Heavy duty packing tape used to attach fan to duct.
(NEXT PAGE)