![]()

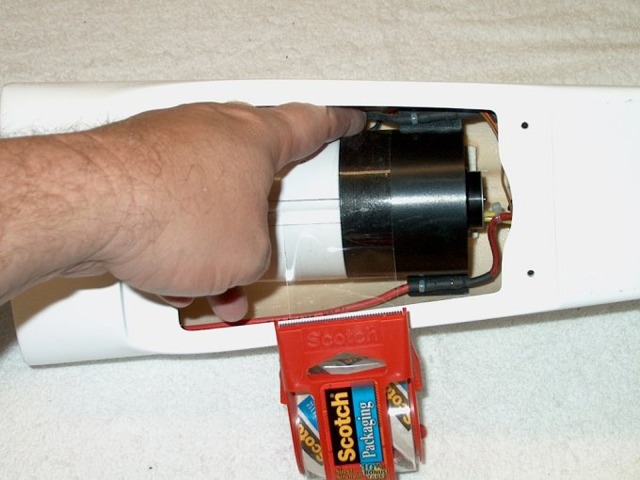
119 - Tape applied on one half from the opening.
120 - Tape pushed down to inside area.
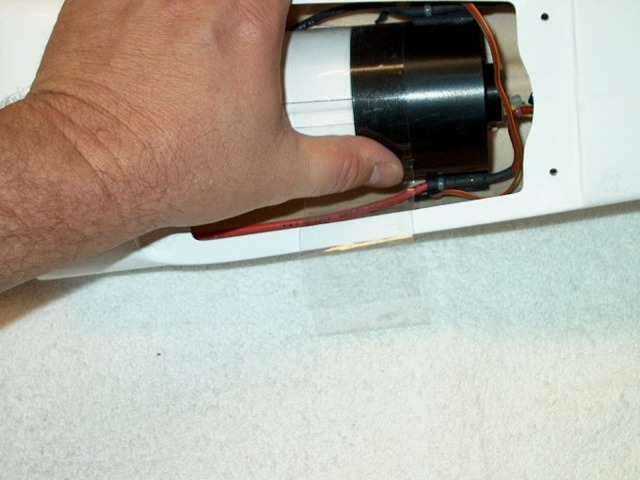
121 - Tape trimmed and other end worked around.
122 - End is tucked under the bottom.
123 - A ruler taped to a stick was used to push the remaining tape around the top of the duct.
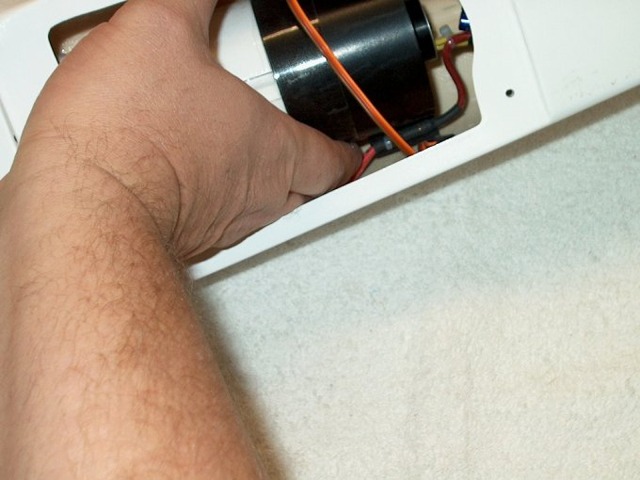
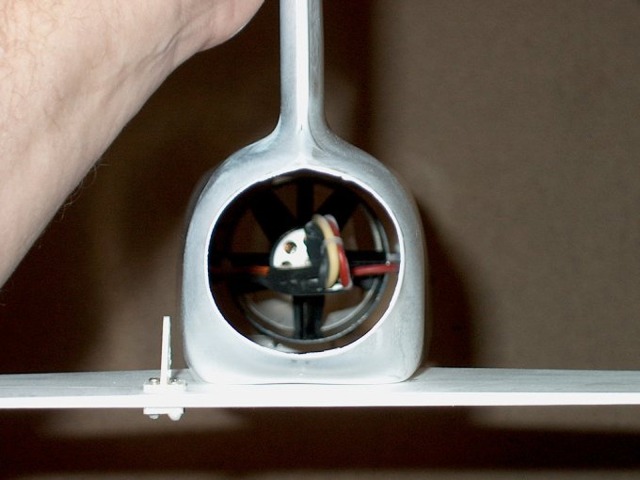
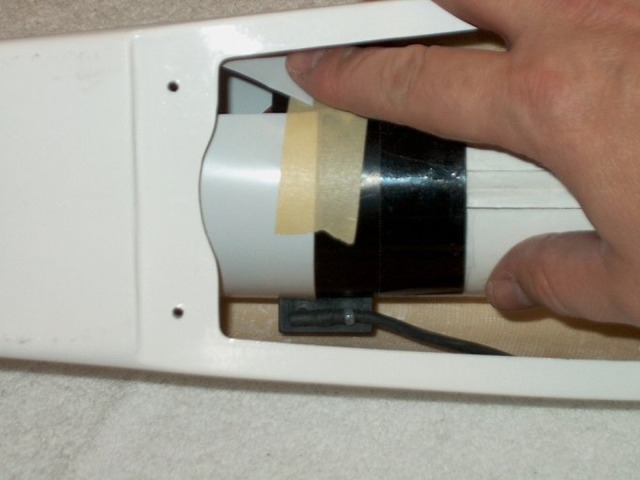
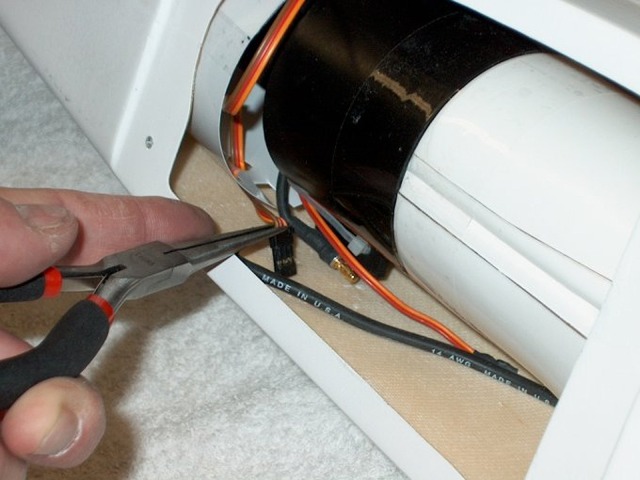
124 - Fan assembly installed, showing ESC that will reside in the duct.

125 - Top view showing fan connected to ductwork.
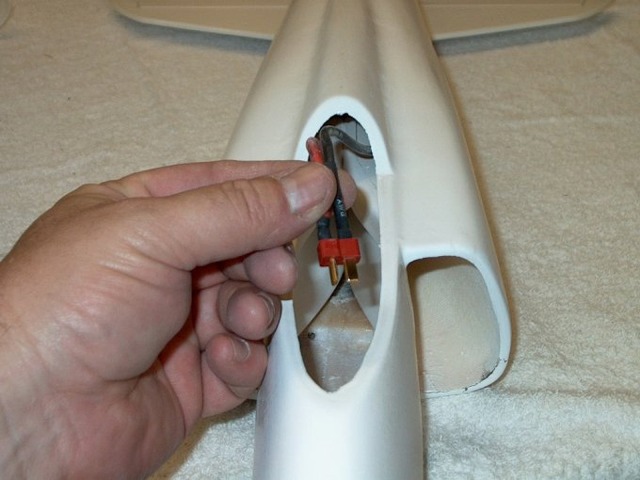
126 - Battery wires that were routed into the cockpit compartment.
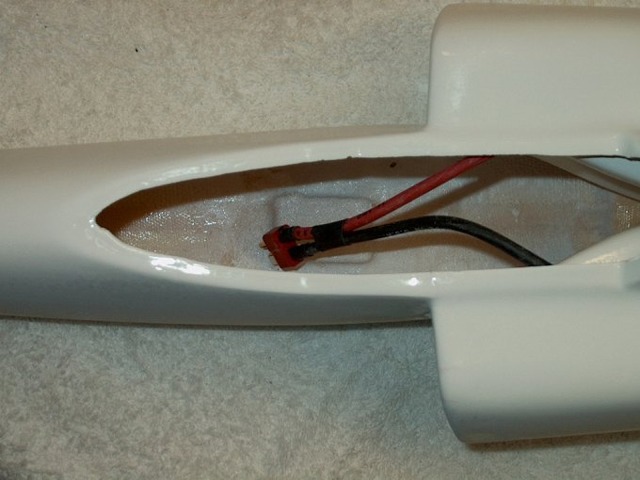

127 - Battery harness shown with enough length to reach anywhere in the compartment.
128 - A piece of poster board purchased at a craft store will be sued for the final ductwork. NOTE: Poster board cardboard is supplied with the kit.
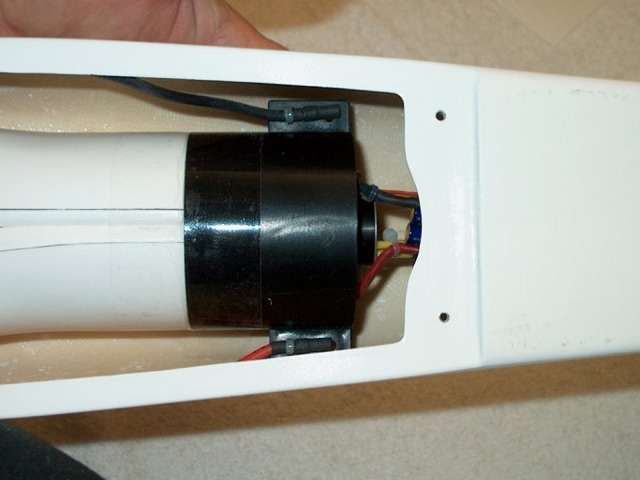
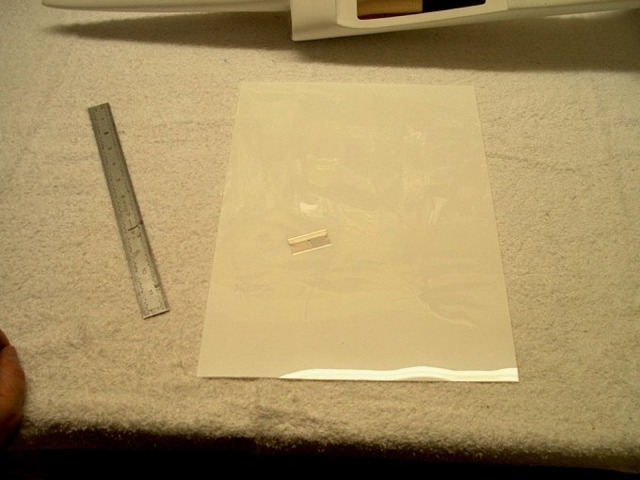
129 - Wiring removed from battery leads and routed inside fan so the exhaust duct can be fitted.
130 - Initial piece of 10" x 15" cut from sheet.
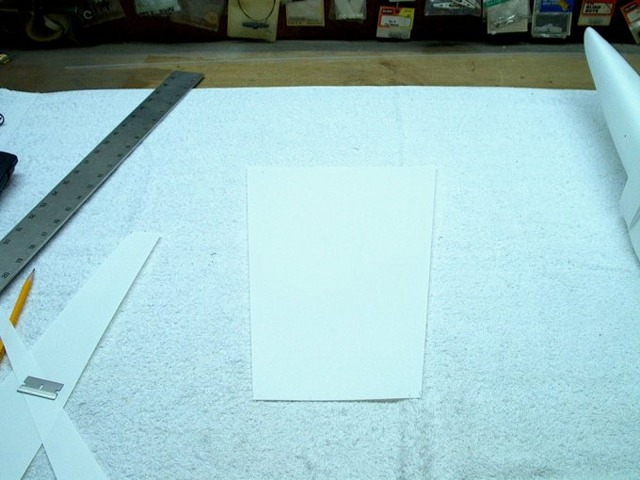
131 - Shape war rough cut...
132 - ... then fit to rear of fan. This will take a while to fit and was a bit challenging due to the taper in the duct, so just take your time.
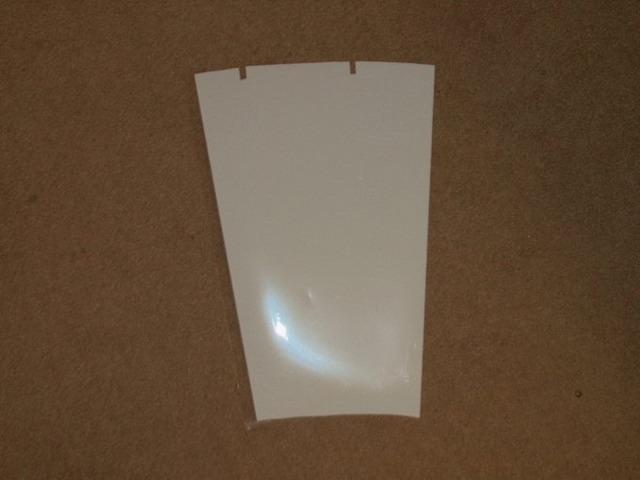
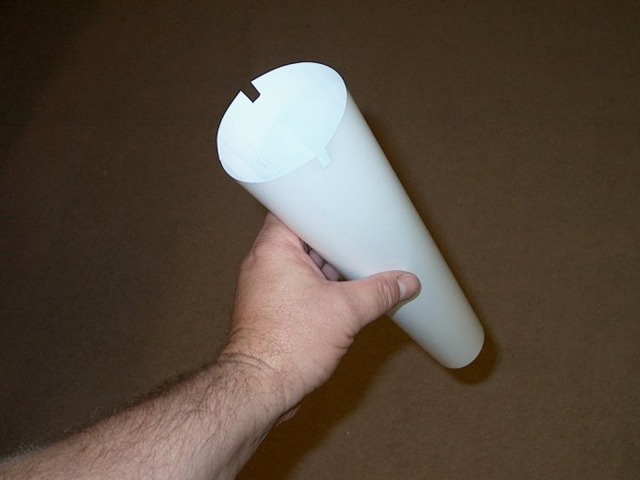
133 - Final sheet ready for assembly. I used the first sheet to mark up and abuse, then cut a final pattern from the first sheet, that way there were no wrinkles in the duct.
134 - The same heavy duty clear packing tape that was used to mount the fan was used to roll the tube.
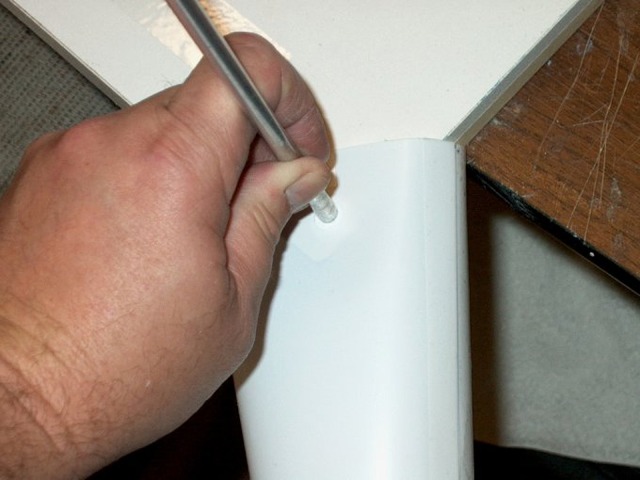
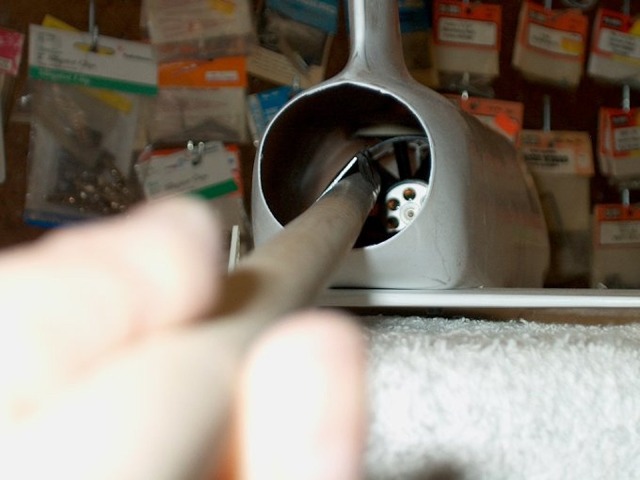
135 - A piece of aluminum tube was used to cut exit holes fro the ESC wires.
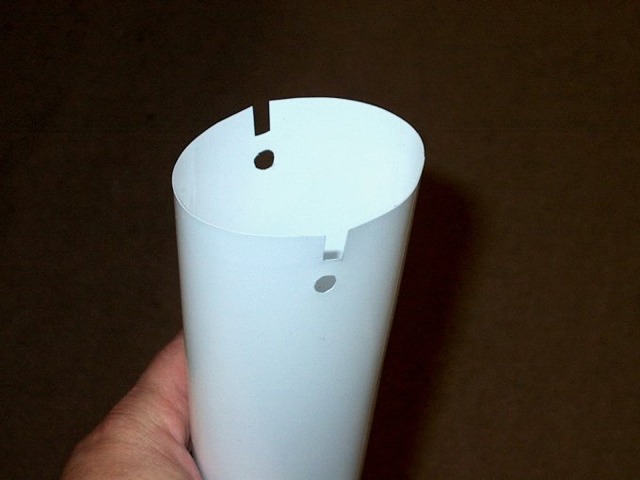
136 - Holes cut, tube ready to install.
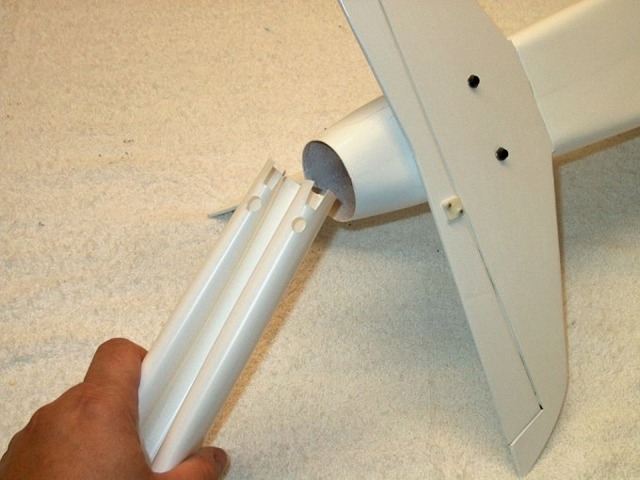
137 - Duct tube folded in half for installation, then inserted from the rear.
138 - ESC wires routed through the punched holes.